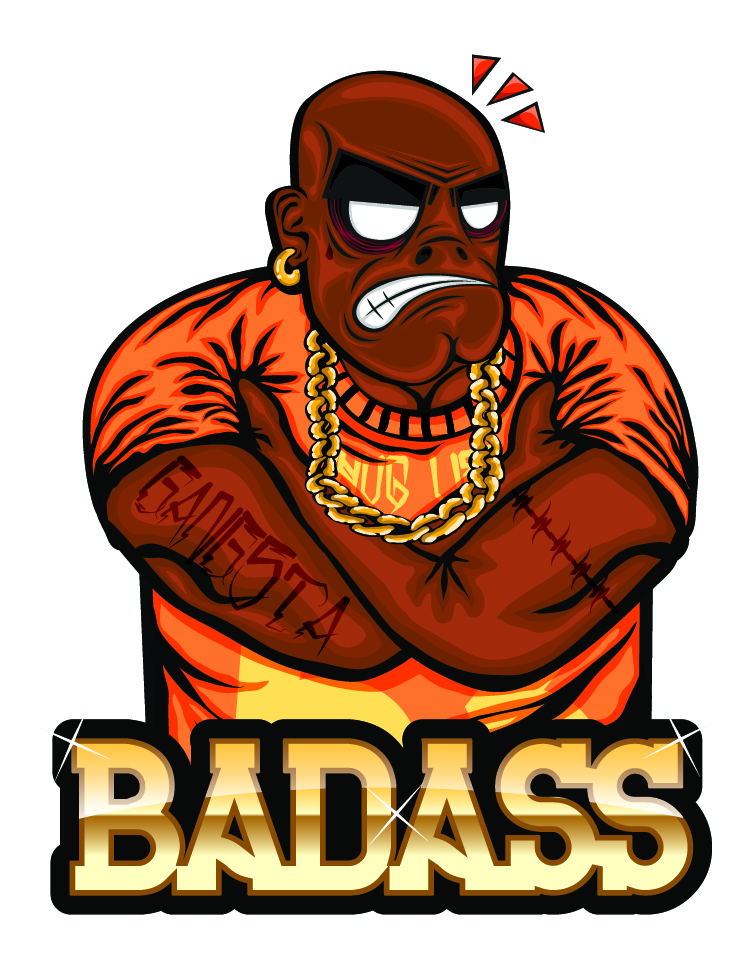
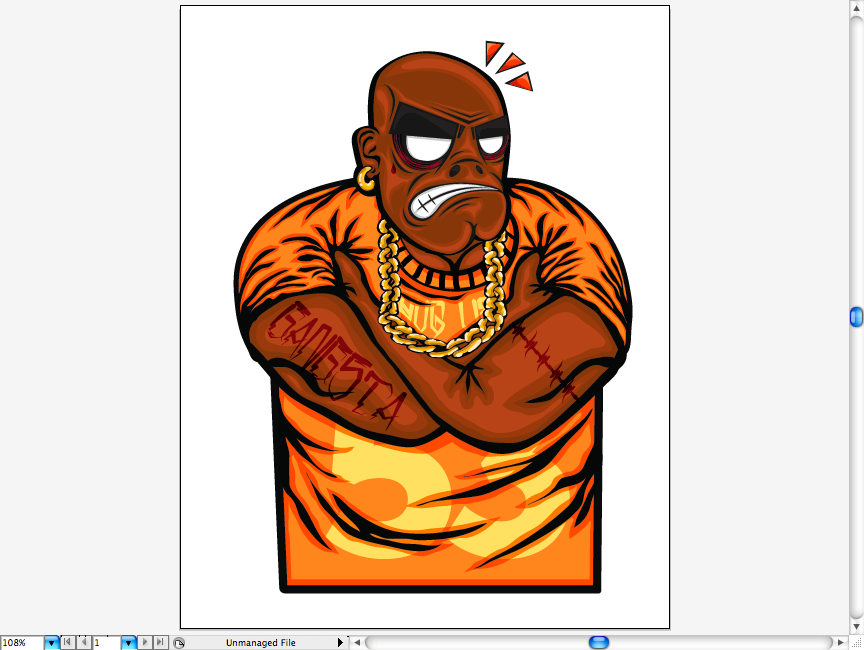
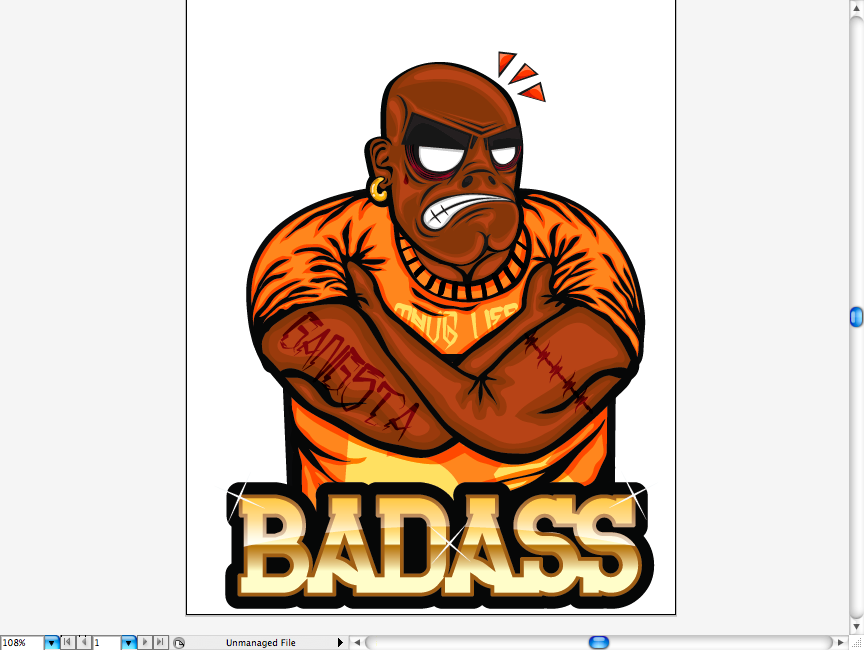
Hi everyone, after a hiatus of almost three months without writing any tutorial I’m finally back and, as usuaI, I have a good exercise to share with you guys. Today we’re going to draw this badass hip hop character that I got inspired by comic book artist Jamie Hewlett and graffiti artist Pose 2, who already worked with aesthetics influenced by hip hop.
So, I hope you guys have a good time and enjoy it. But I recommend you to install the following fonts before proceeding: San Locisco, THe Black Bureau and Ghetto Wolves. You can get them at Legacy of Defeat, the font fabric from our buddy Hydro 74.
This is a quite advanced tutorial it’s highly advised to use a tablet, or some of you may find yourselves a bit lost on some parts. If that happens, don’t worry, and use it as a reference. The idea is to to share and be helpful. If you have any doubt, feel free to contact me any time.
Sketch
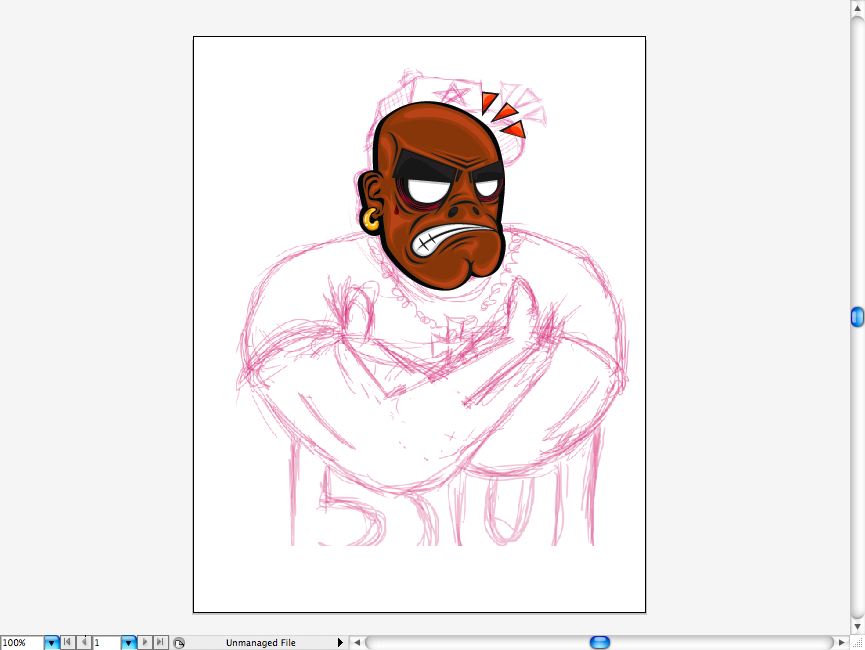
So before going to Illustrator, I decided to do a few sketches so I could have a better idea of the position, direction and structure of the character.
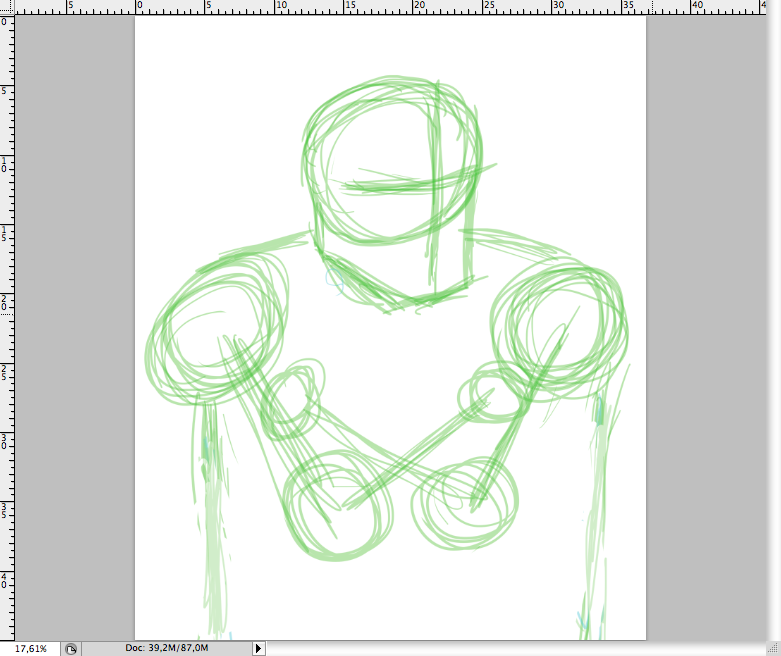
First of all I drawed the main structure using geometric shapes so I could render it into something more detailed on the following.
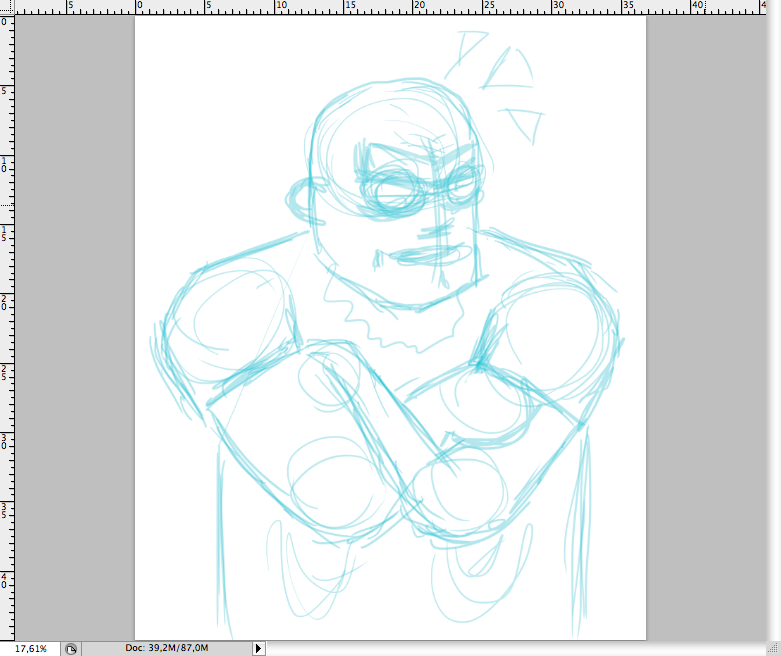
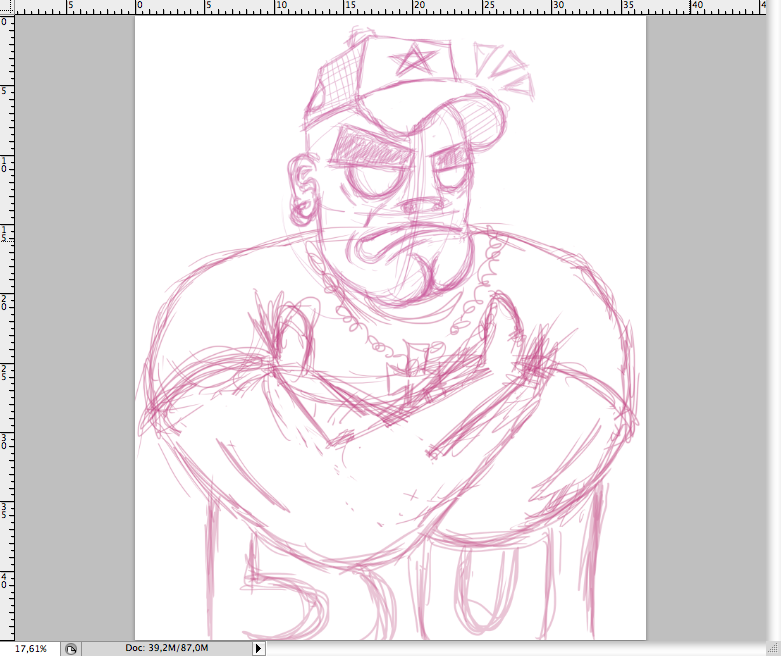
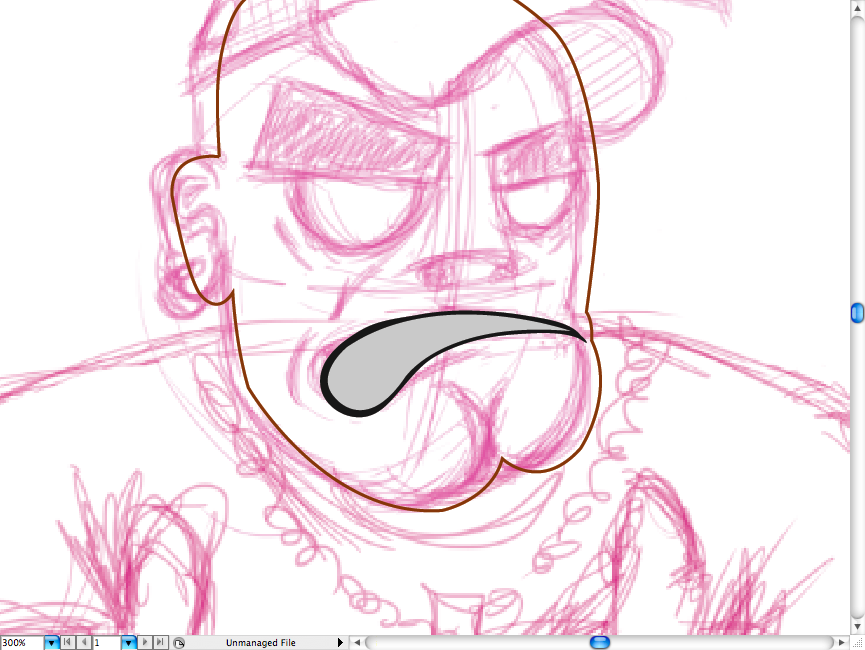
I detailed the sketch a bit more, as usual, the more elaborated your sketch is, more well done your final piece will be. I decided to don’t use the cap I did on this sketch, as it looked more menacing without it.
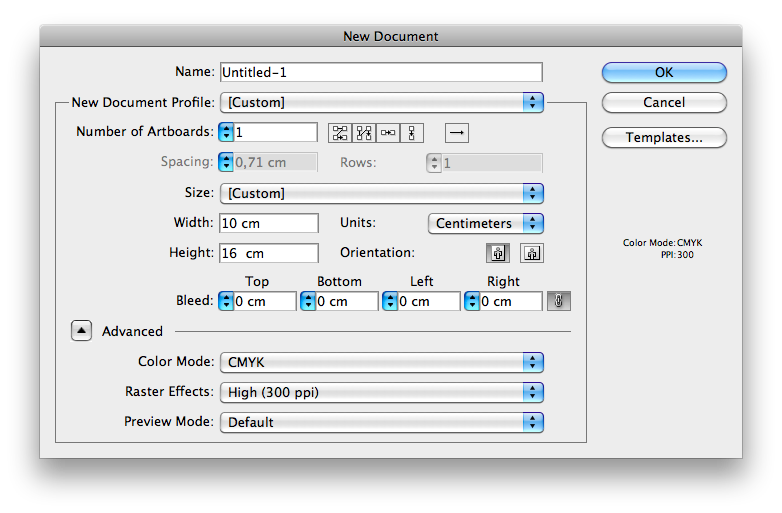
Ok, now open Adobe Illustrator and make a new document (command + n / ctrl + n). Make a 10 x 16 cm CMYK white canvas.
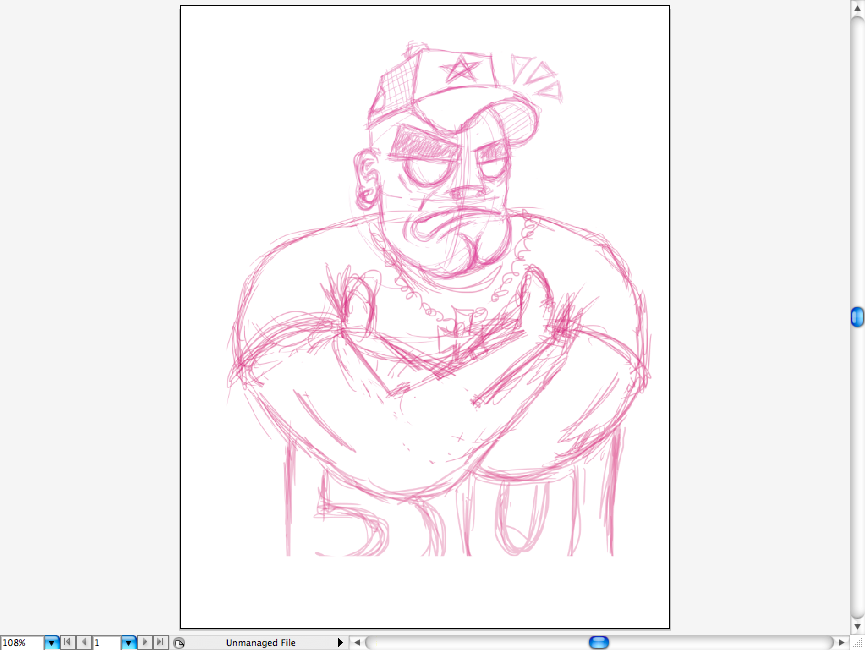
I pasted the last sketch into the new canvas so I could use it as reference. Then create a new layer (command + L/ ctrl + L) to start with the head.
Head
Using the pen tool (P) trace around the head.

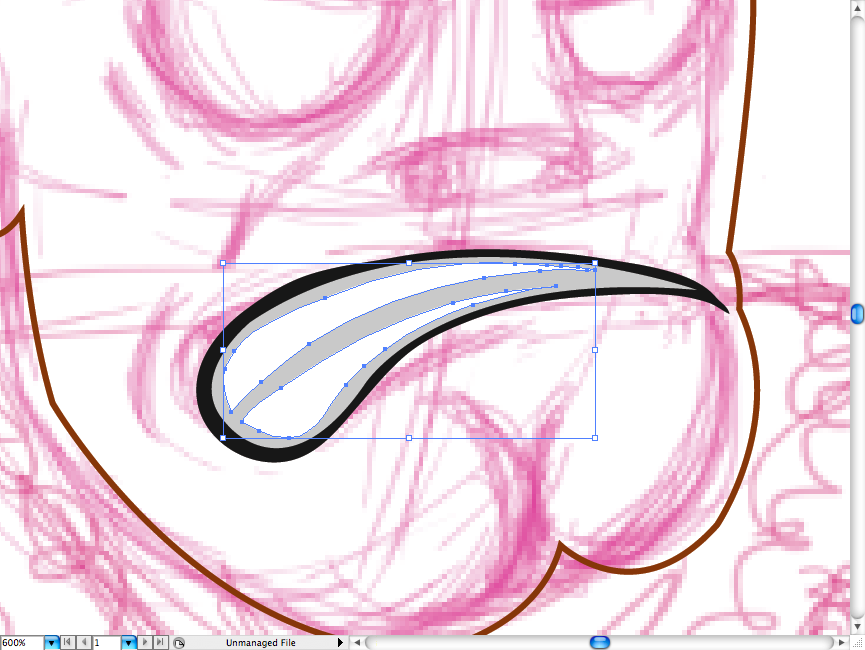
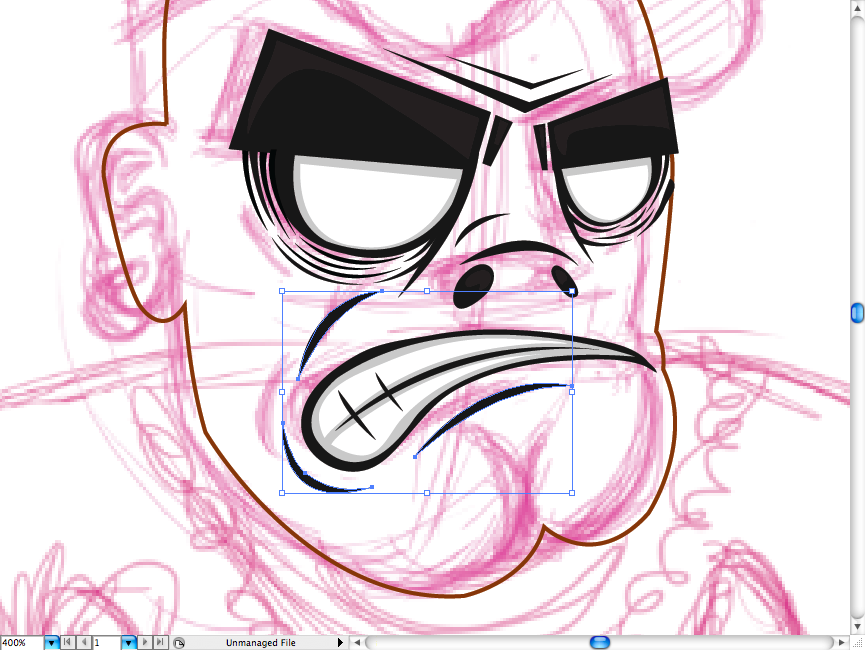
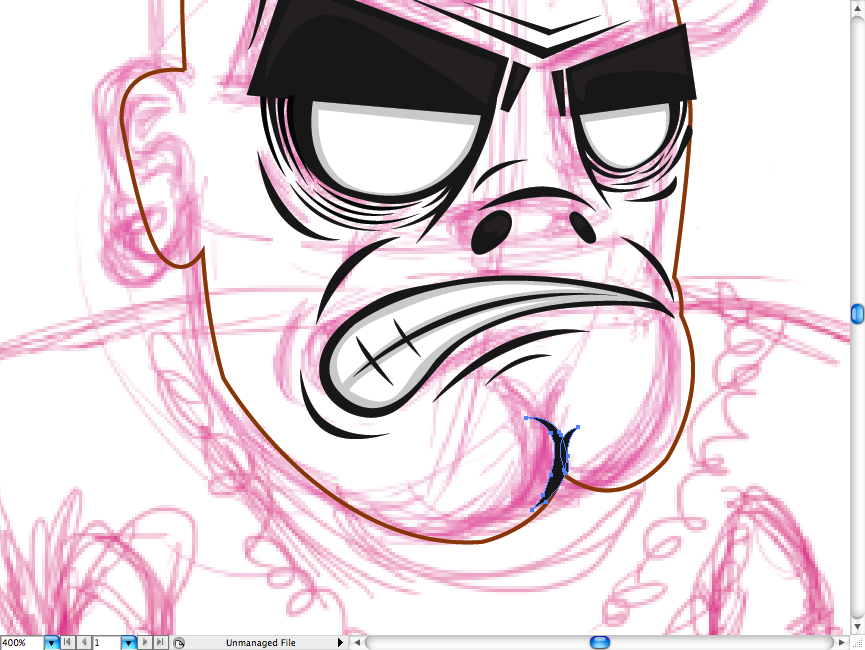
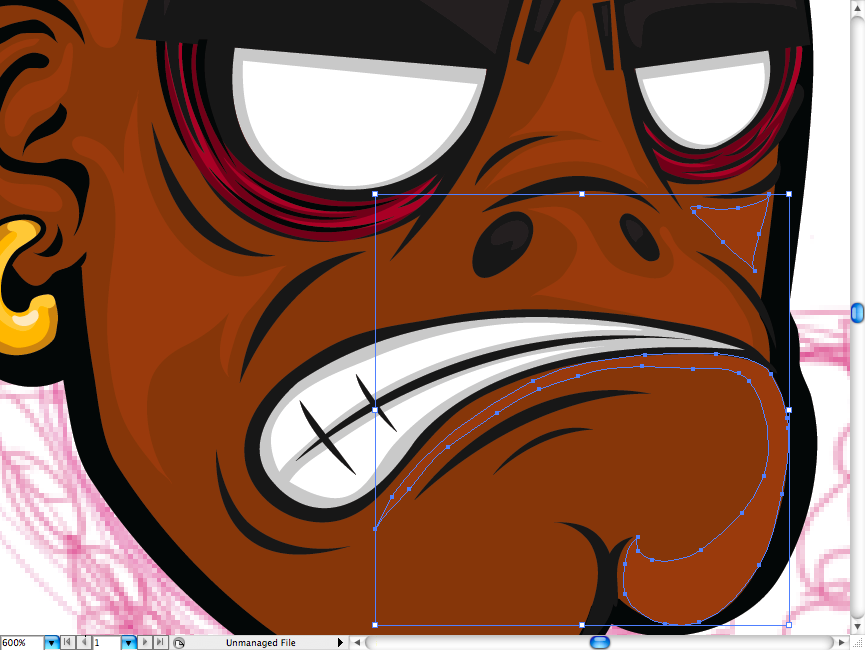
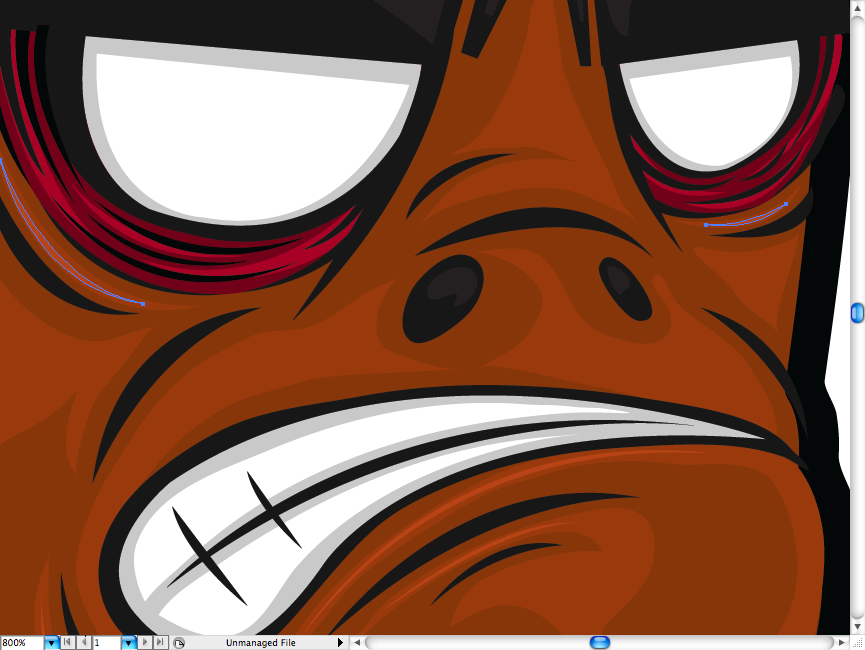
With the previous tool do the same thing with the mouth, you can use strokes on it, although I’m not a huge fan of this method, I prefer to create a separated path for it. Right after, add some some grey and two paths with white fill inside of it. Then make the classic divisory of the teeth with black fill.
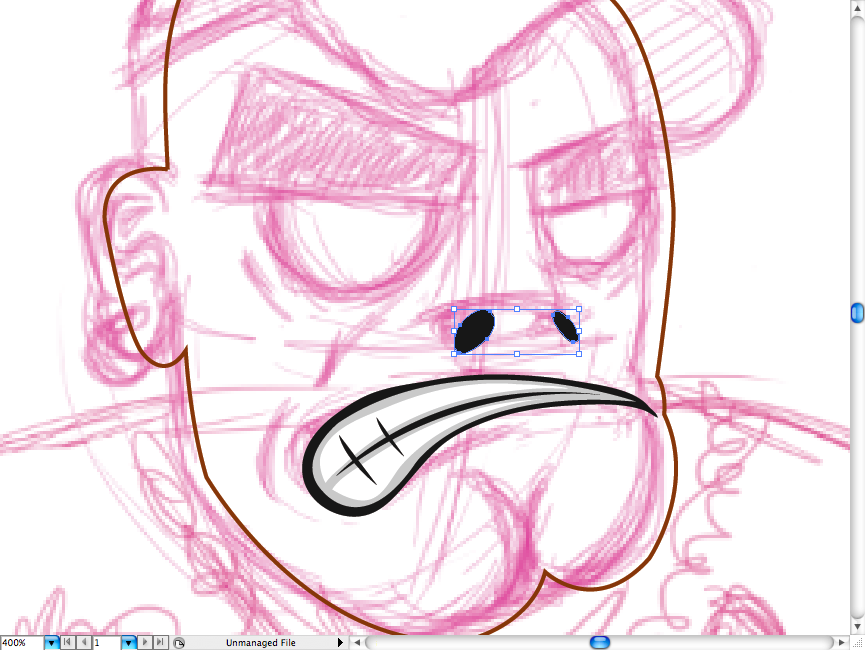
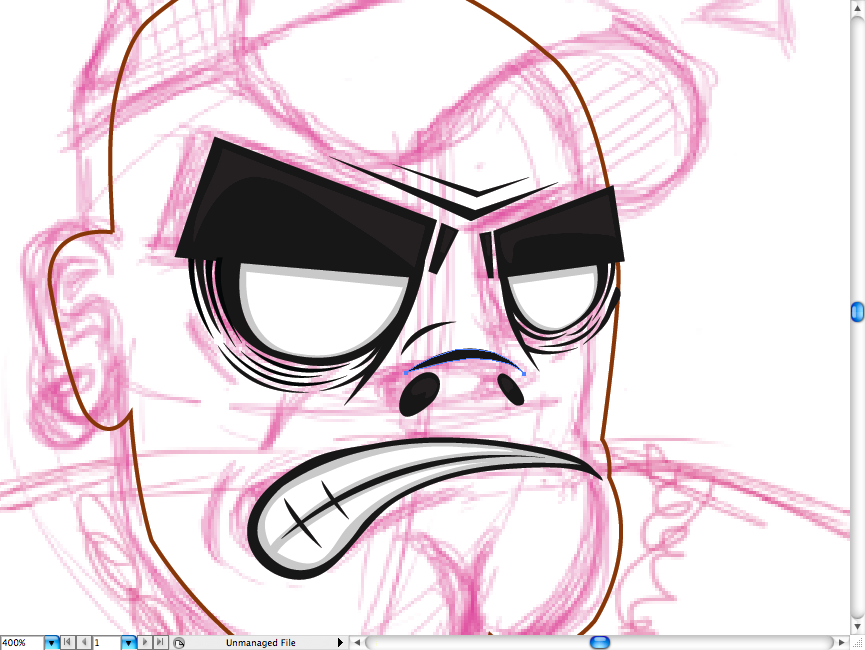
With the ellipse tool (L) I did this nostrils.
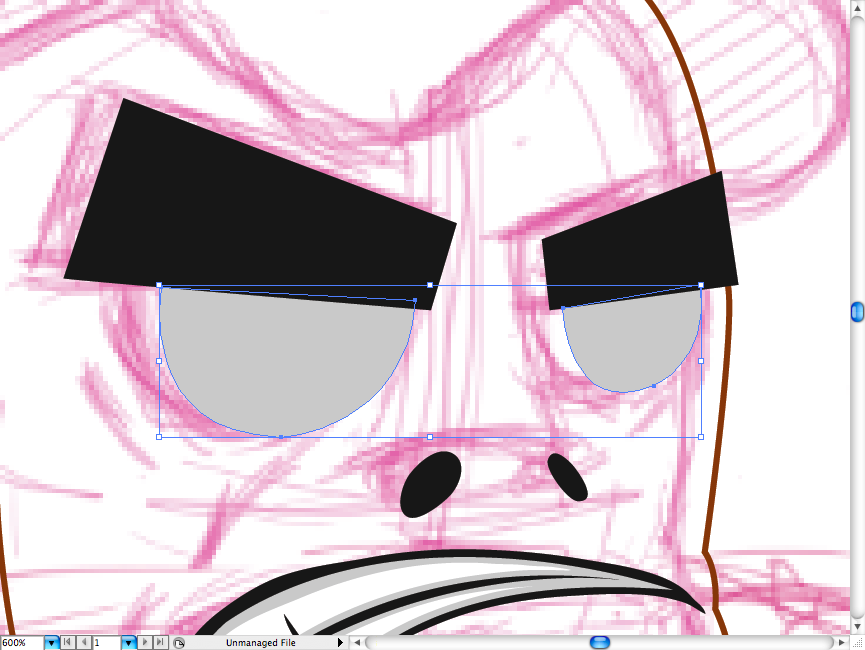
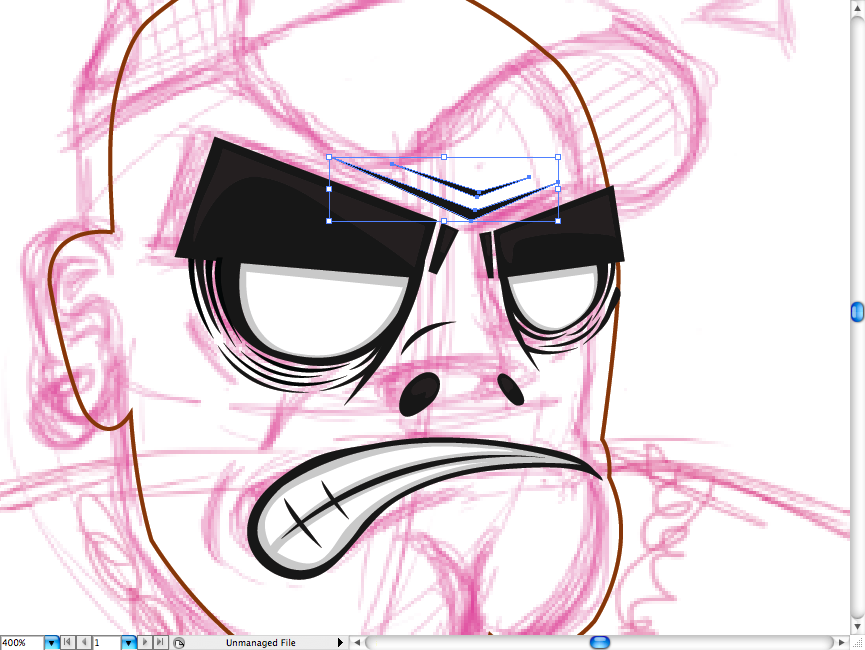
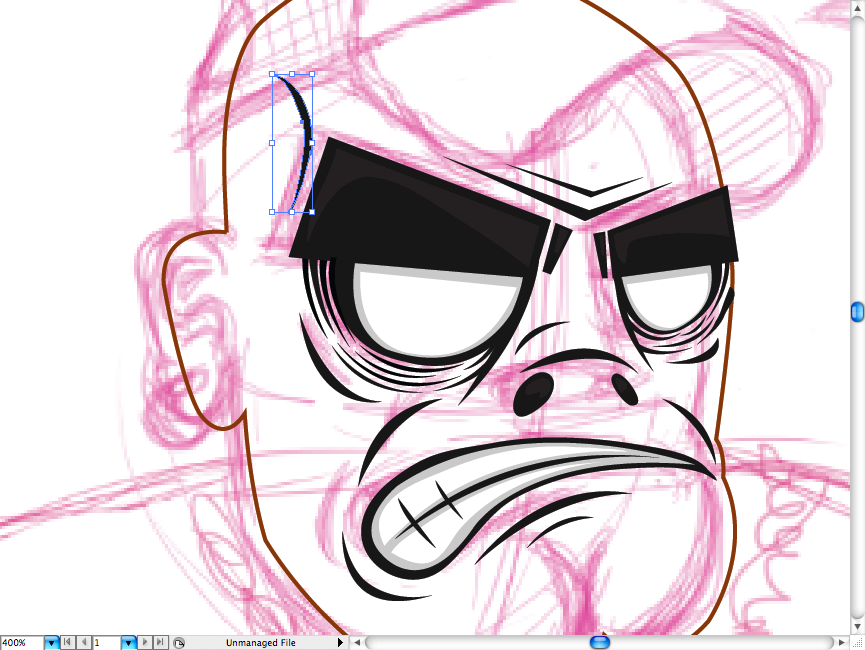
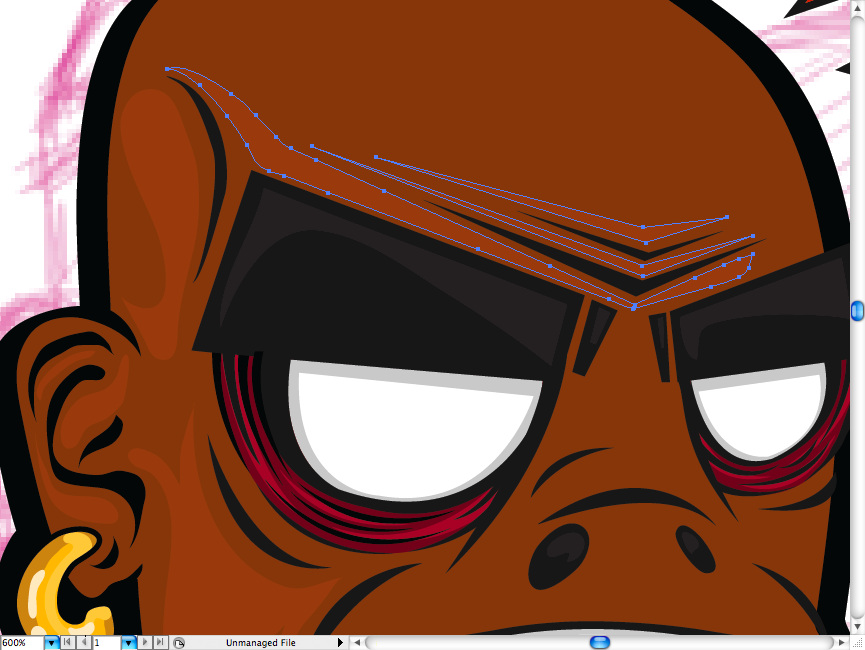
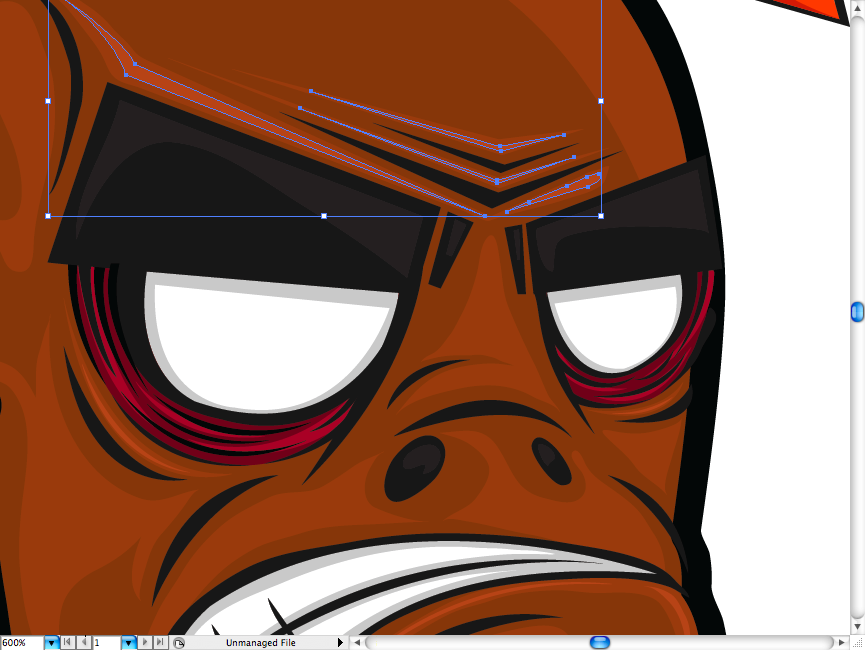
I traced the eyebrowns with the pen tool (P) using a balck fill, give some attention to this as it’s going to be important for the facial expression.

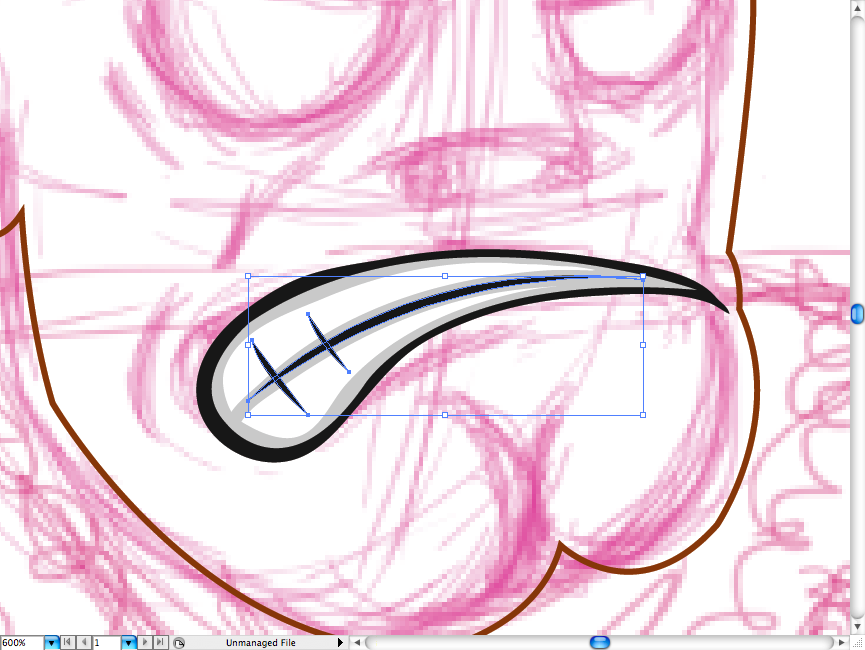
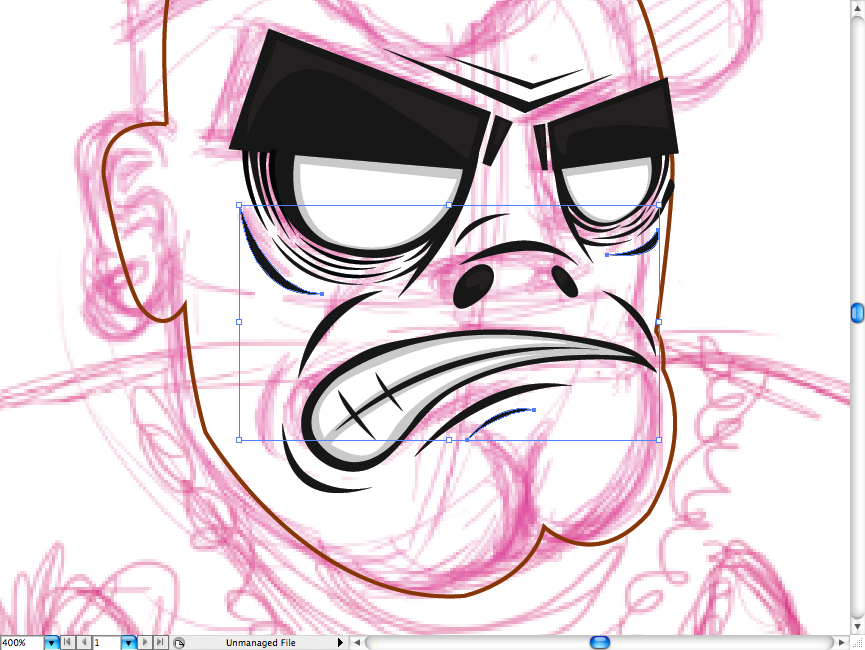
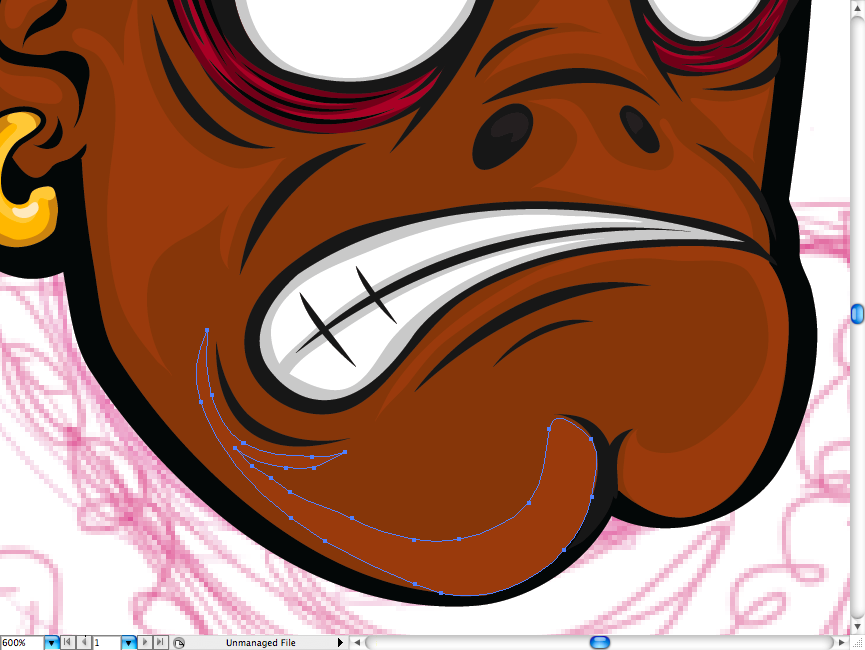
As you may notice, I’m using two kinds of white in order to give depth to teeth and eyes. So first I draw the grey part, later I added loads of wrinkles around it using the pen tool (P).
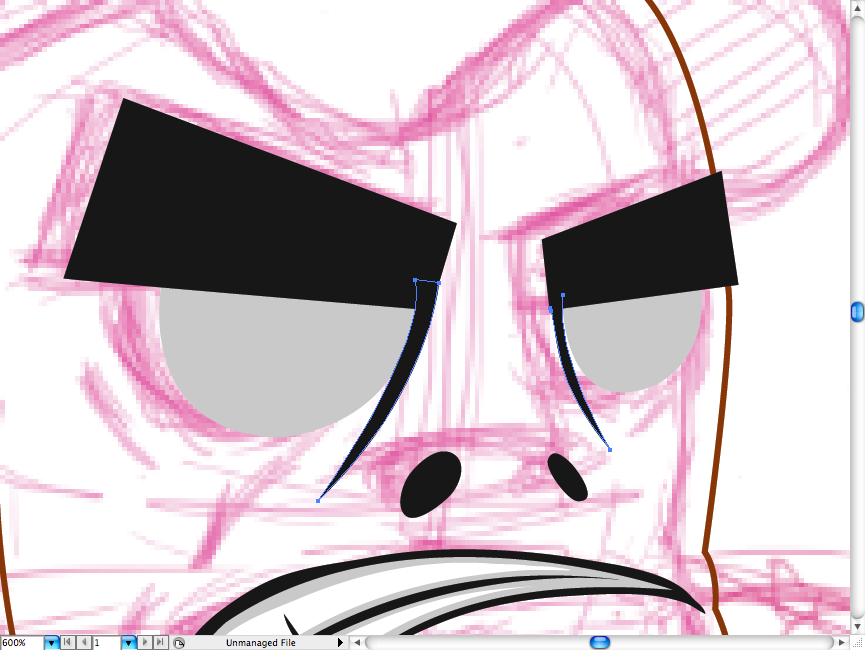


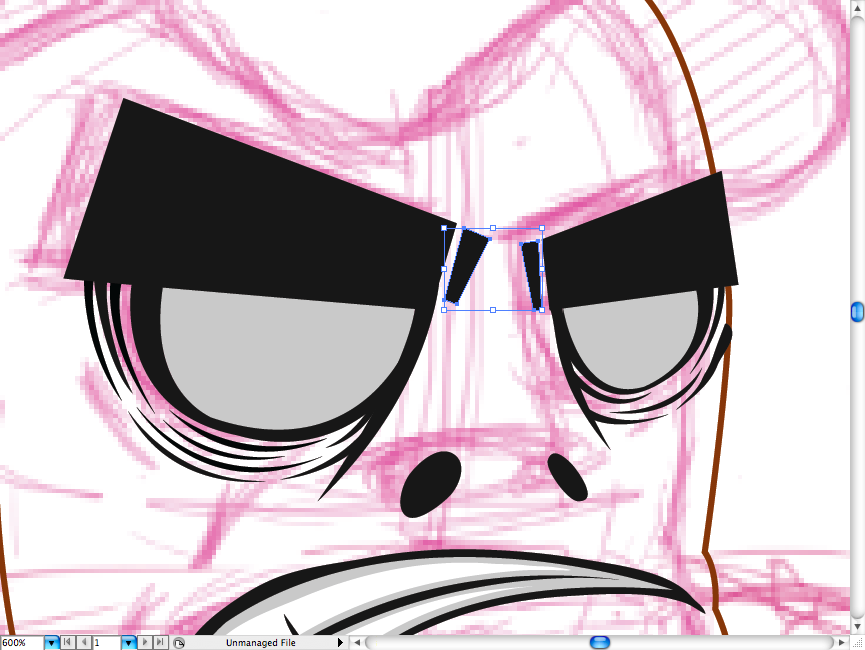
Also added this simple detail between the eyebrowns.
Here’s what I was talking about, make the white fill but scale it having in mind the depth you want to give.

I wanted to give some volume to the eyebrowns and nose, so made this grey shapes over them.
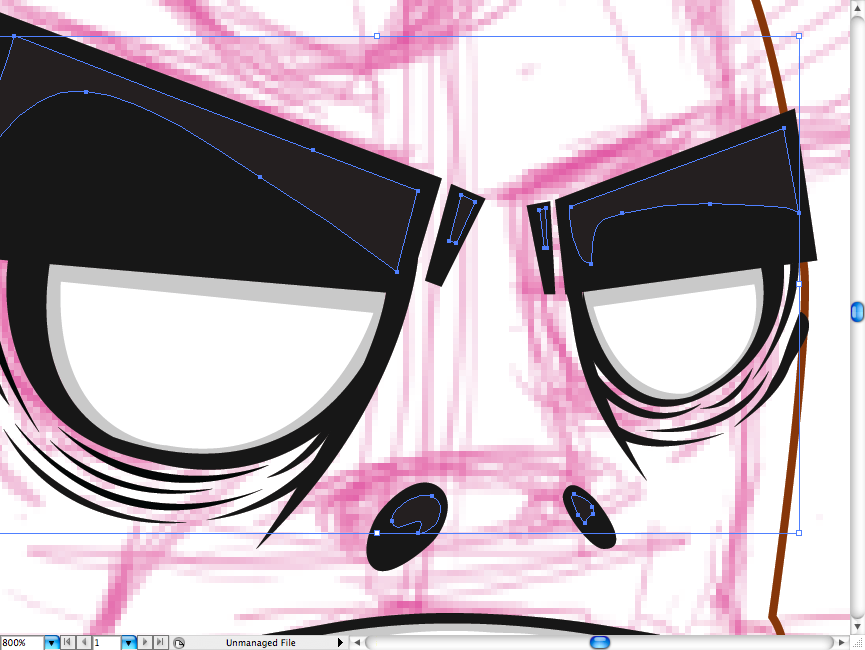
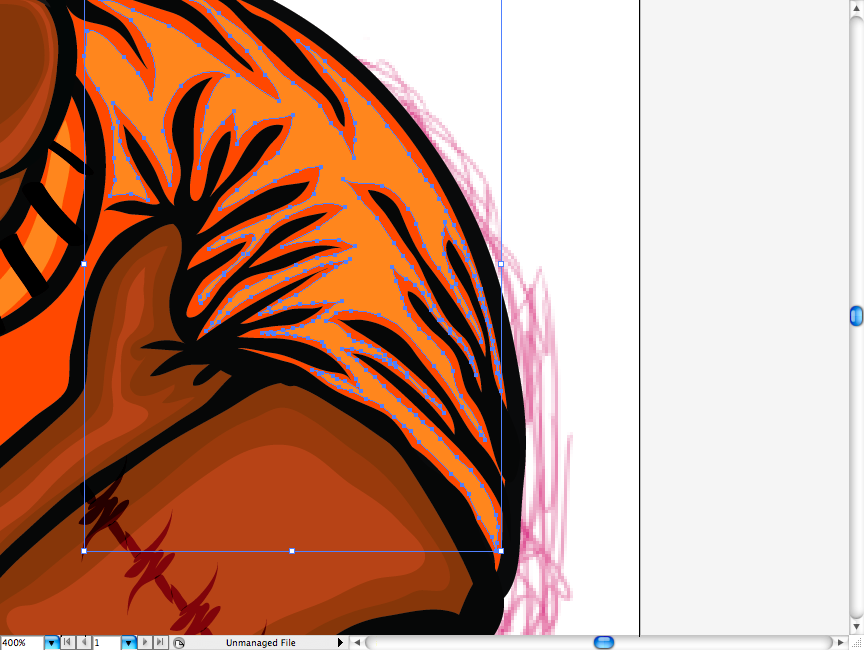
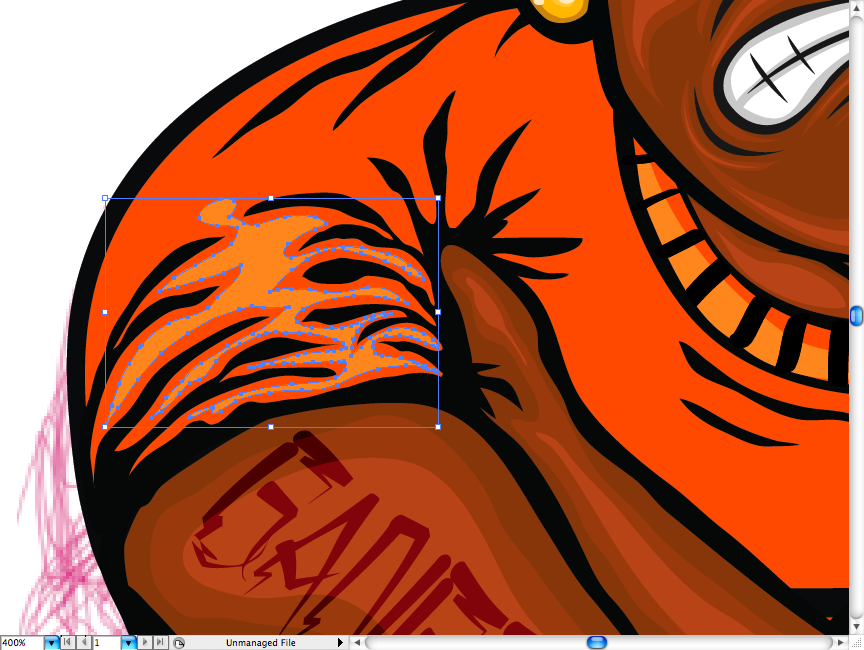
Now I added tons of wrinkles to make his facial expression more interesting and fluid, thi may take you sometime and observation, but here’s the walk thru.

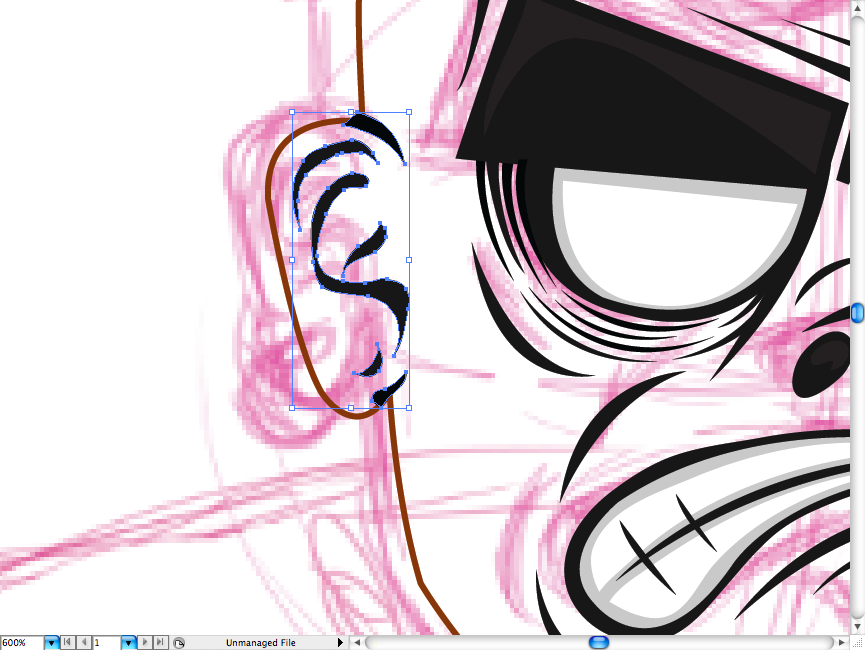
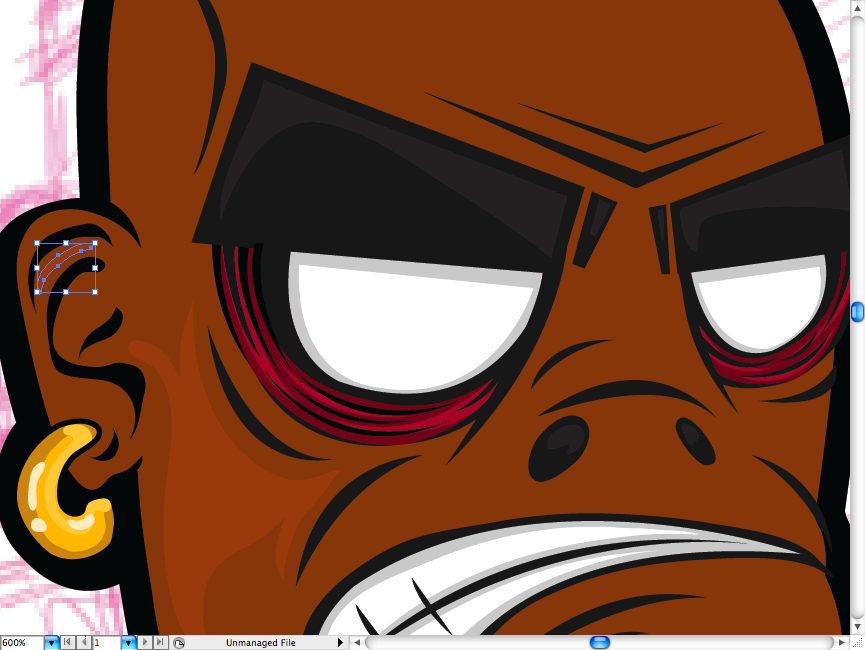
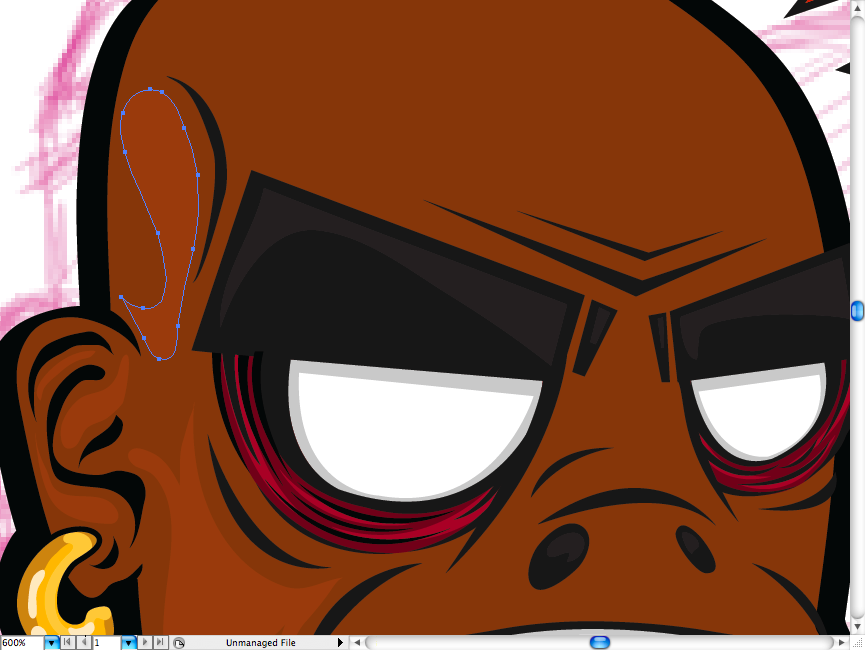
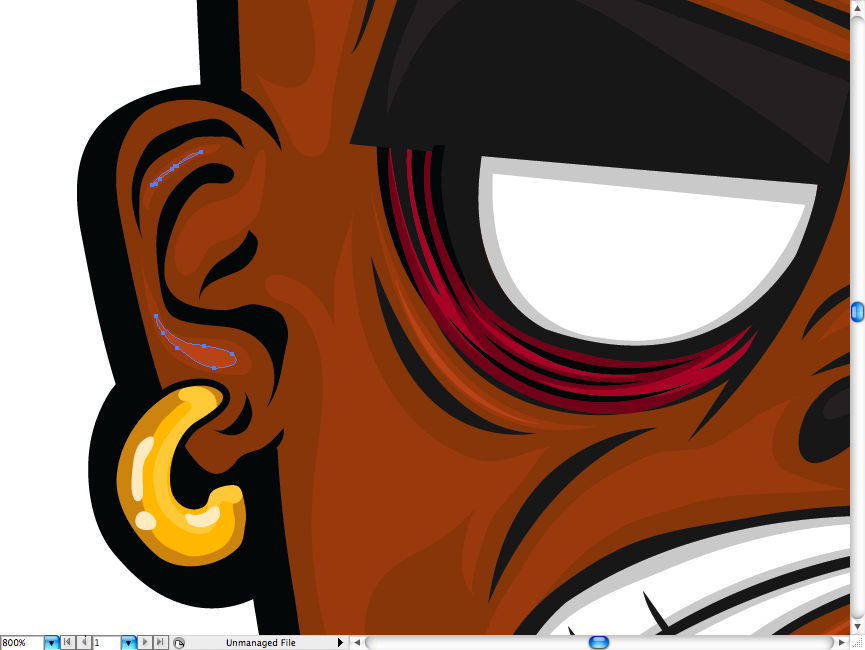
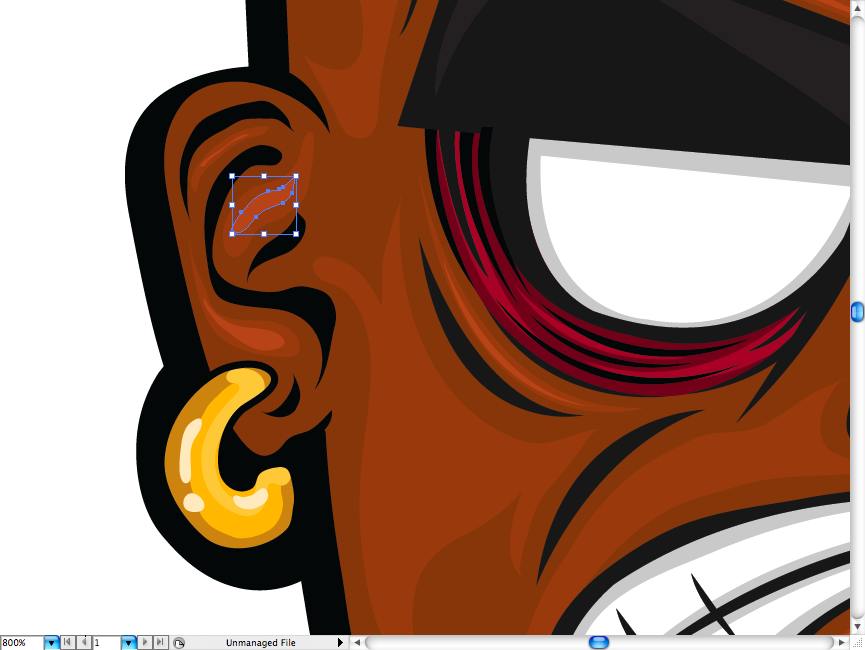
The ear needs some special attention, as it’s complex part of the body.
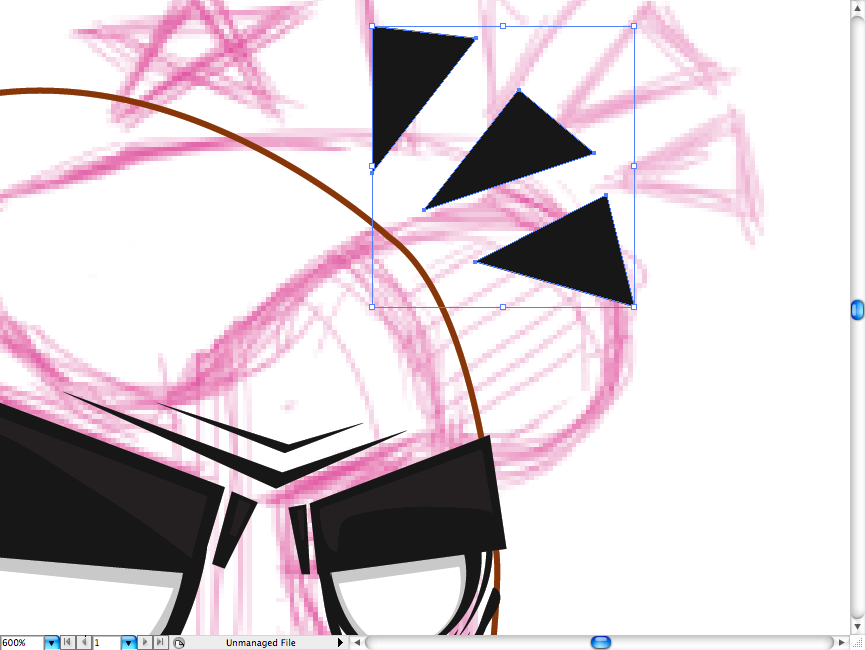
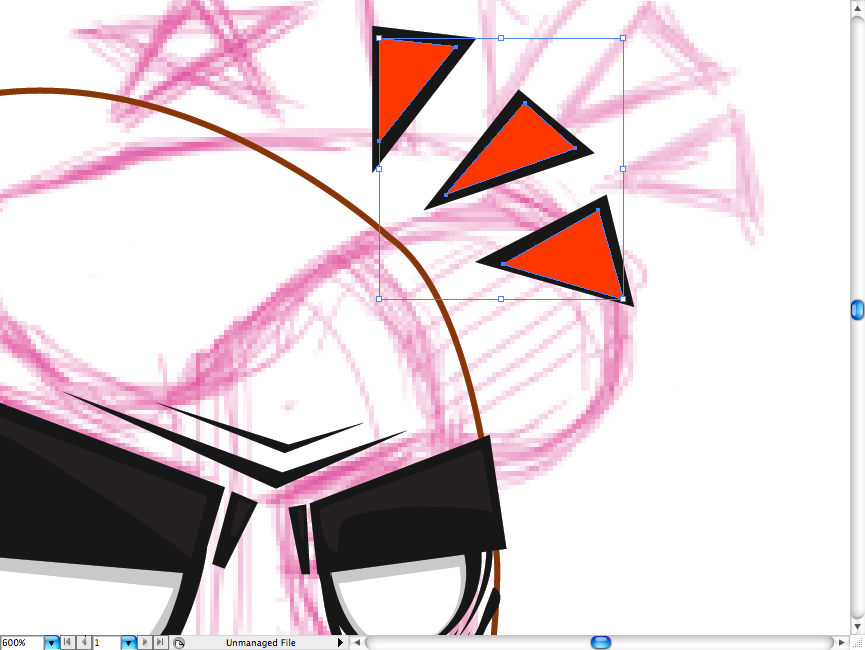
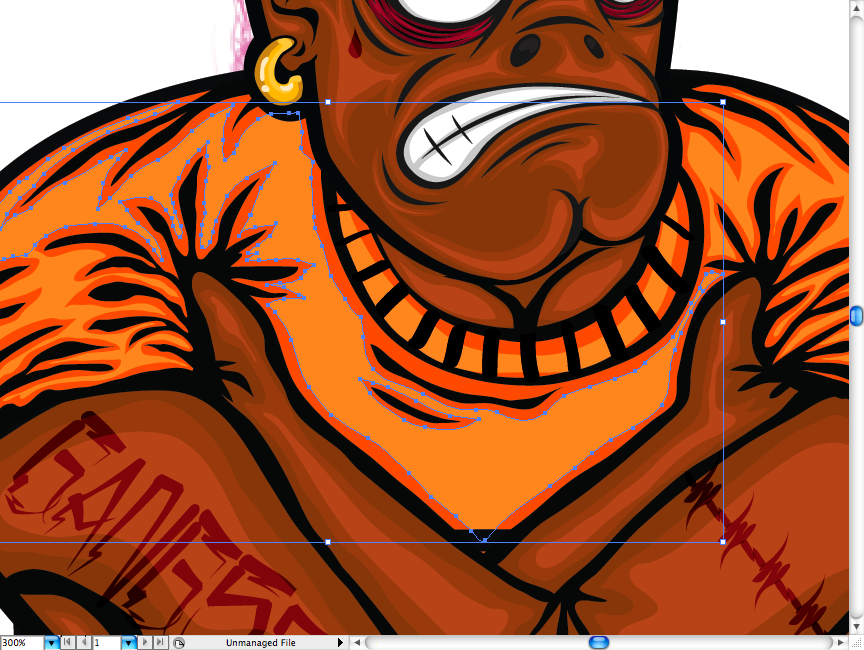
Let’s draw some classic “attention triangles” on the side of the head. Draw them with the pen tool (P), make first a black layer, then a red layer. Make also a reflex and a shadow on them.


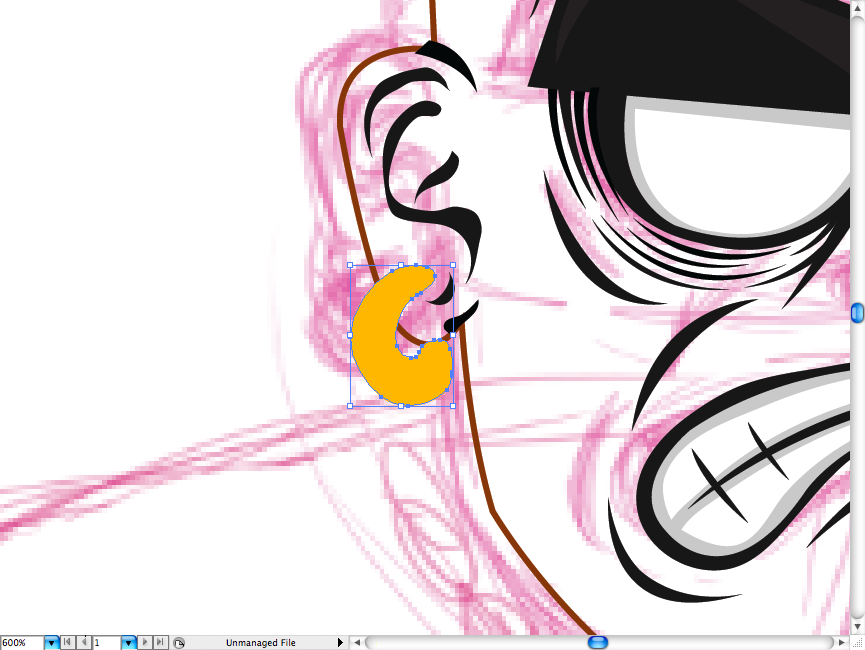
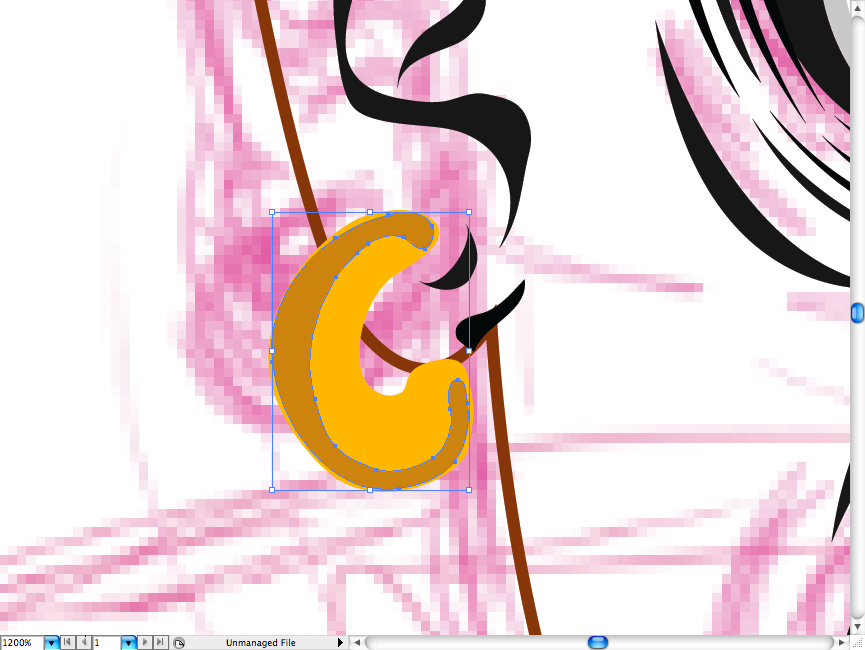
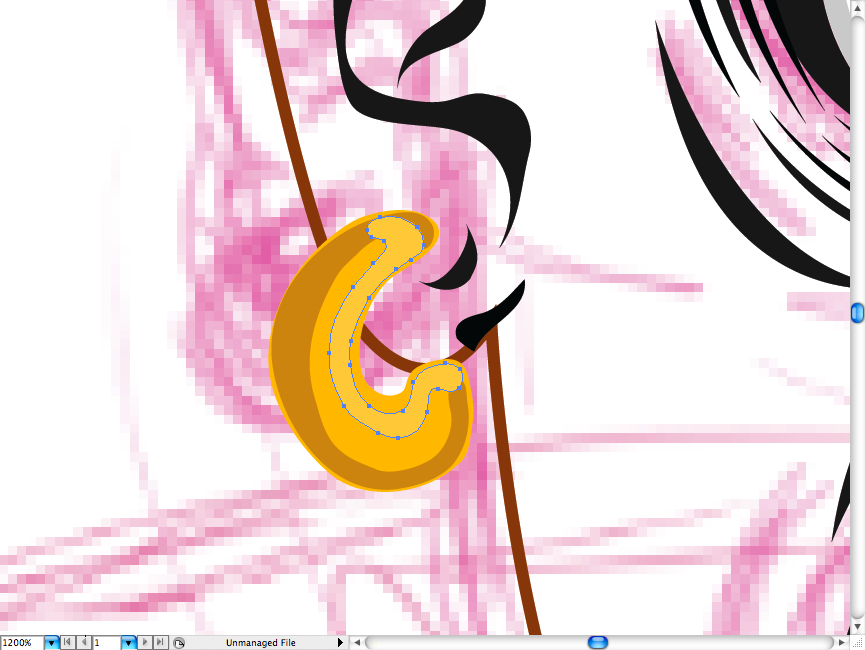
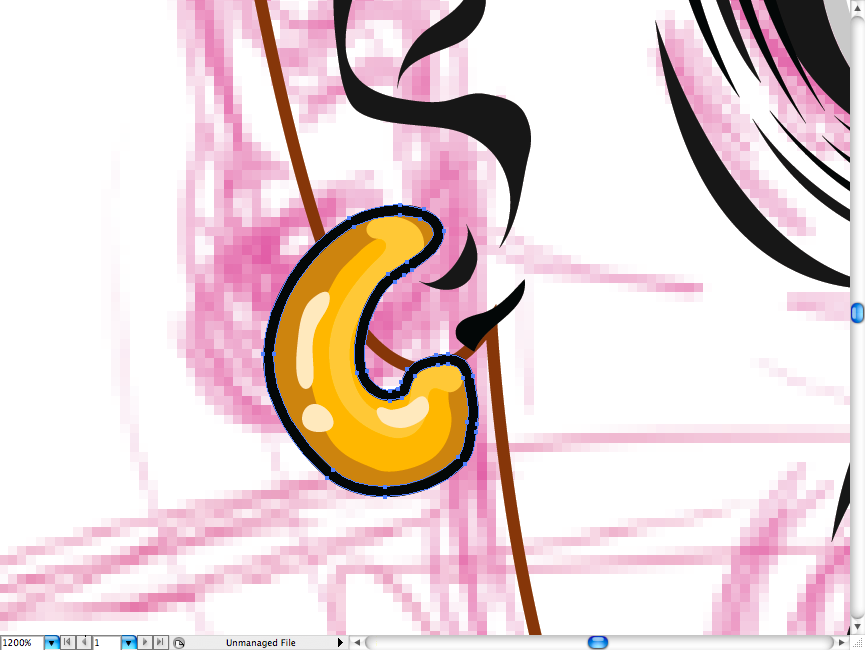
Golden jewelry seemed to fit with to this character, so I decided to give him this golden earring. Make first the yellow fill, then a darker one, a brighter one and the lights.

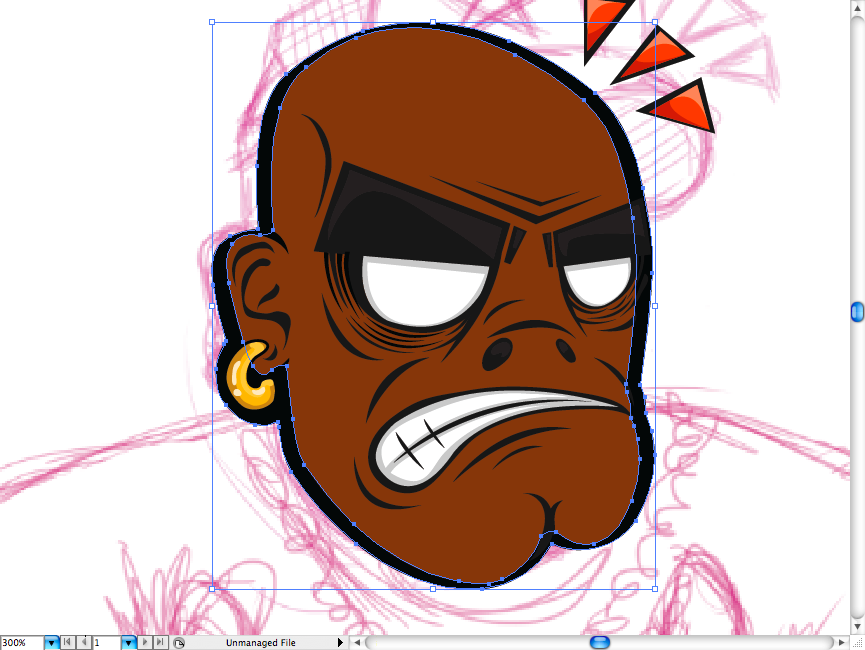
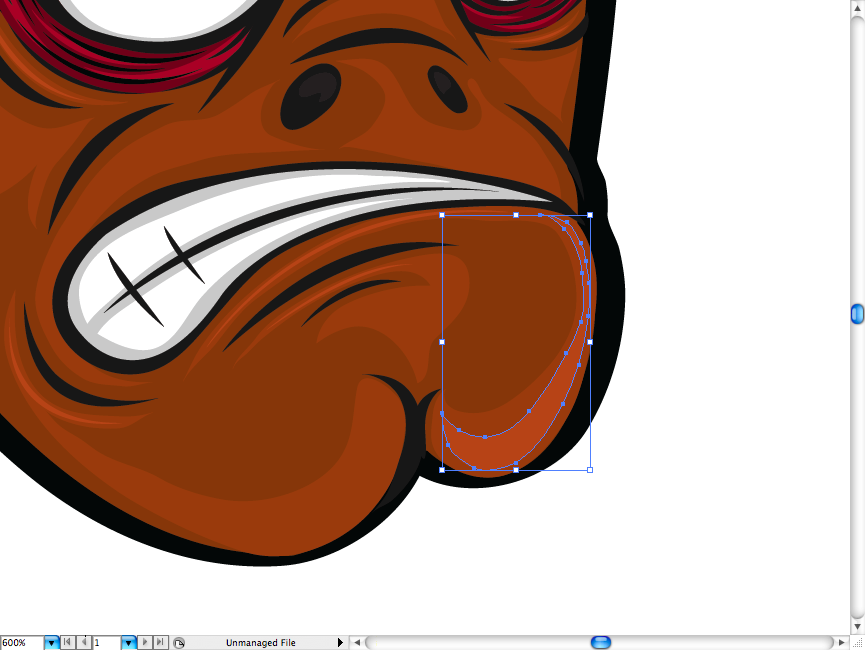
Ok, now remember the trace we did around the head on the beginning? Select it and fill it with brown color.


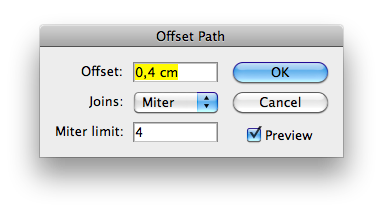
Select the brown path and go to Object > Path > Offset Path and set to create this black fill around the head.
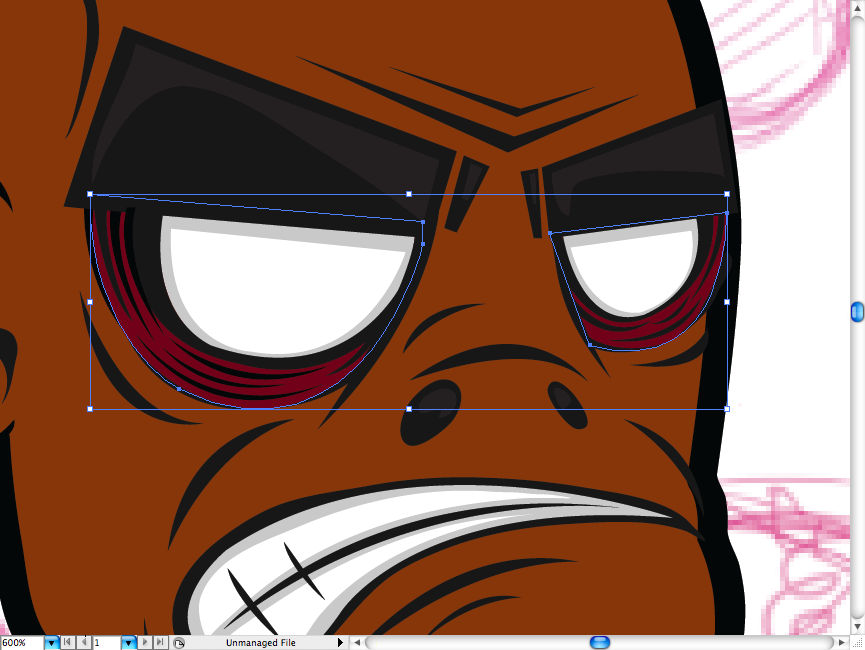
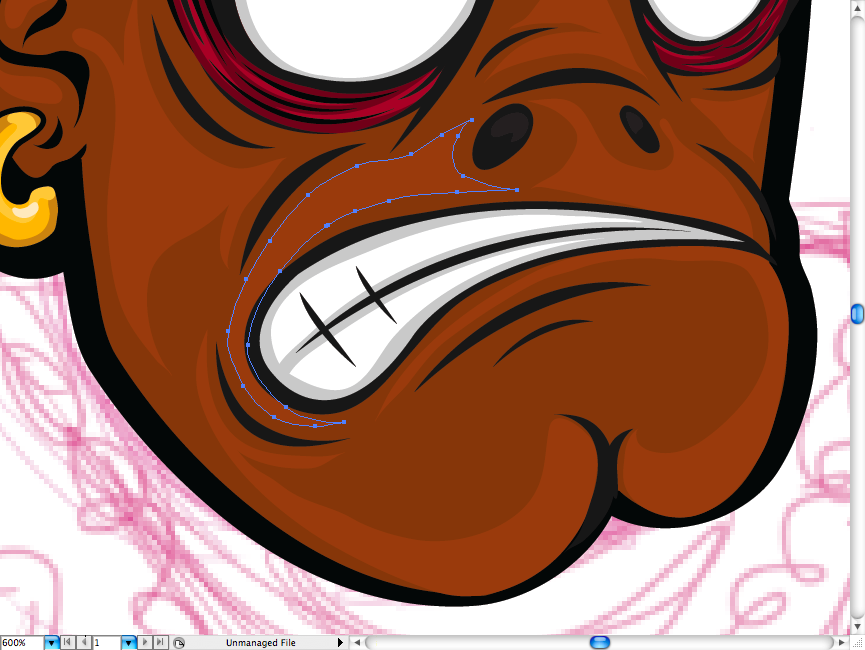
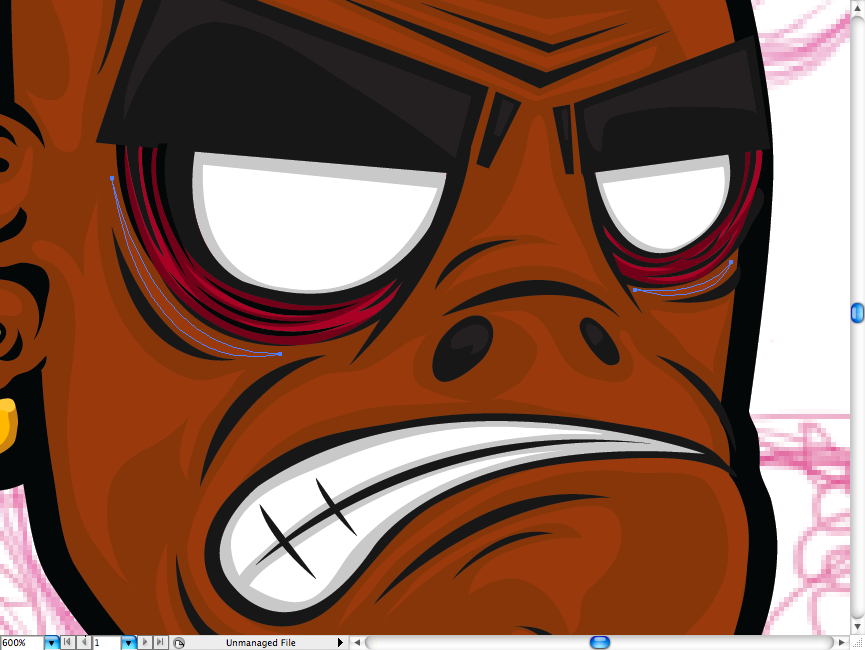
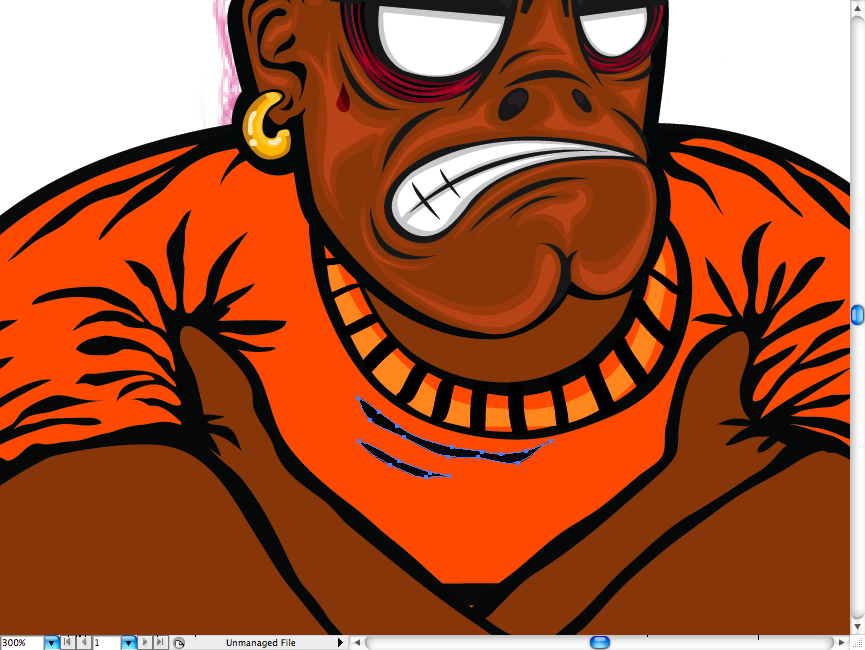
I added this dark circles below the eyes so it would look a bit more agressive. Just put this red fill and a lighter one behind the wrinkles.

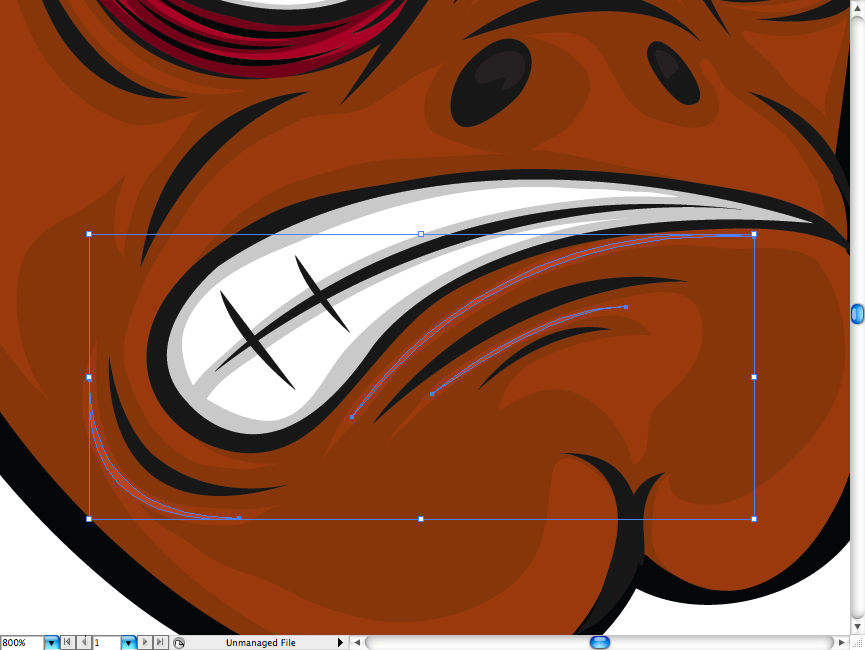
Here comes a trick part: I like to insert some volume on the face so I had to understand the scene light, so I did this light parts all around the face, respecting the wrinkles and structures of the head. You can do it eithher with the pen tool (P) or the pencil tool (N).
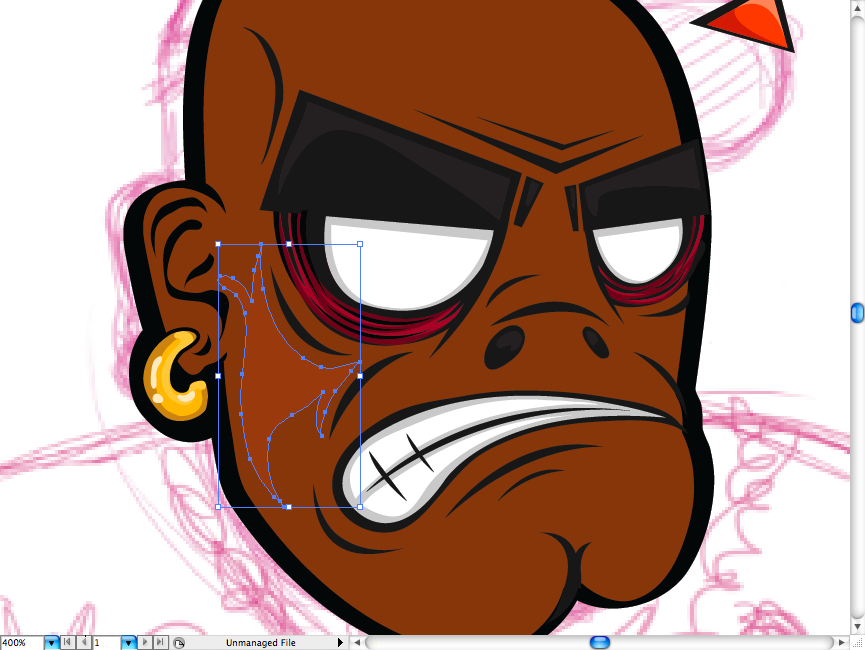


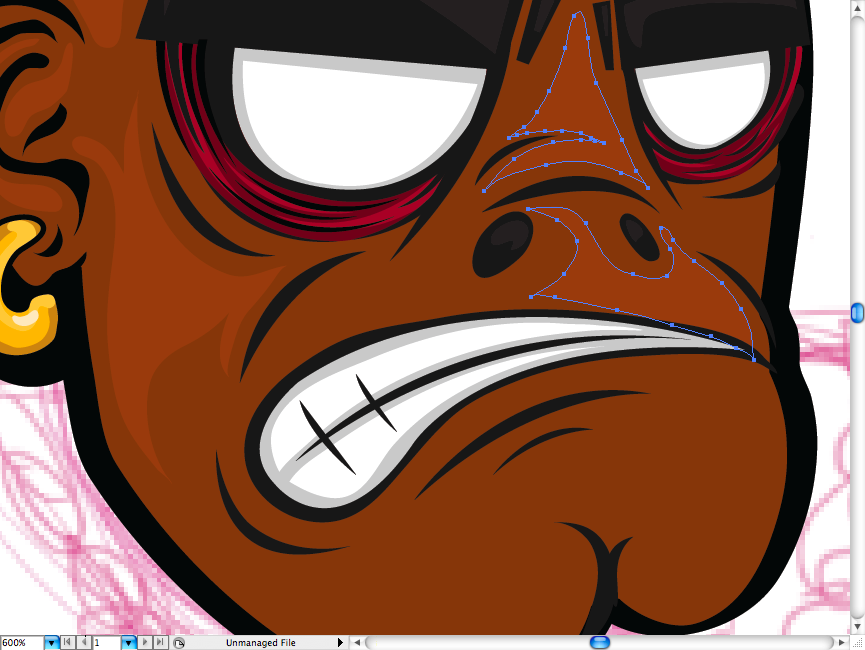
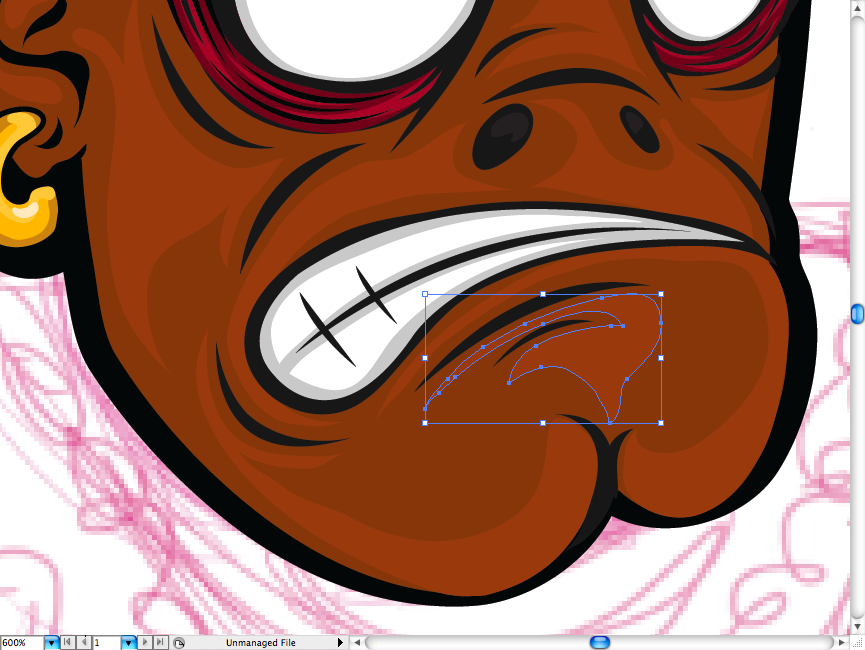
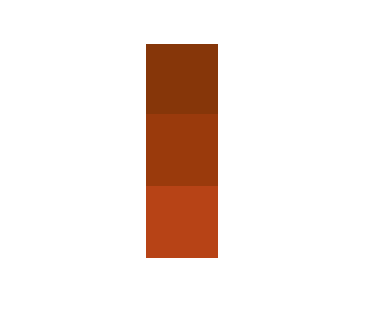
Some of you may be a bit lost at this point, so here’s a brief explaination of this technique: I use to call it “hard gradient” as I get three color tones of the same scale and use them to ehance the shapes. So I think you already know what we’re going to do next, yep, add a lighter layer of brown.
Ok guys, I think we have it, let’s skip to the body.
Body
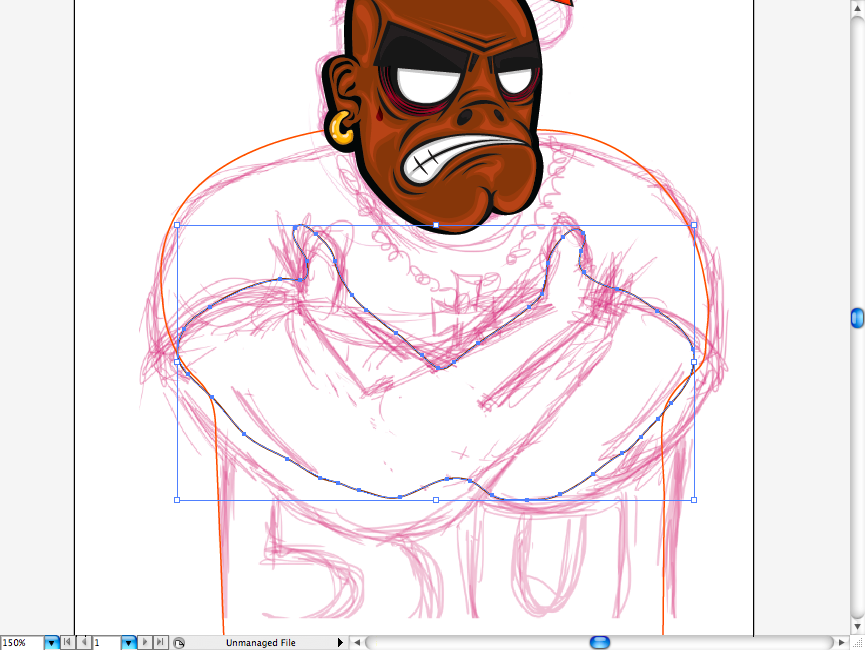
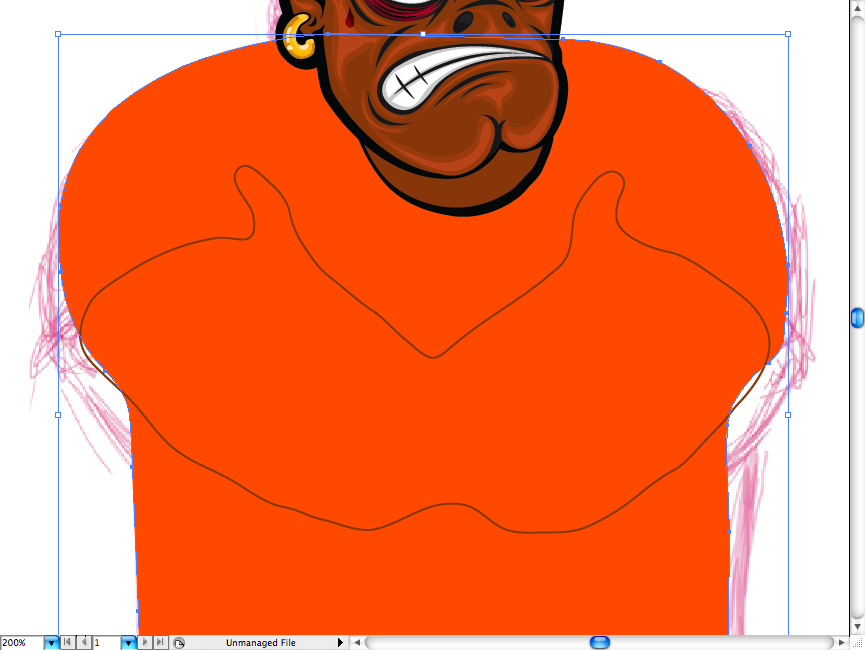
Fist of all make a new layer (command + L / ctrl + L). We’re going to pretty much the same thing we did before, so let’s first trace the whole body silhouette.
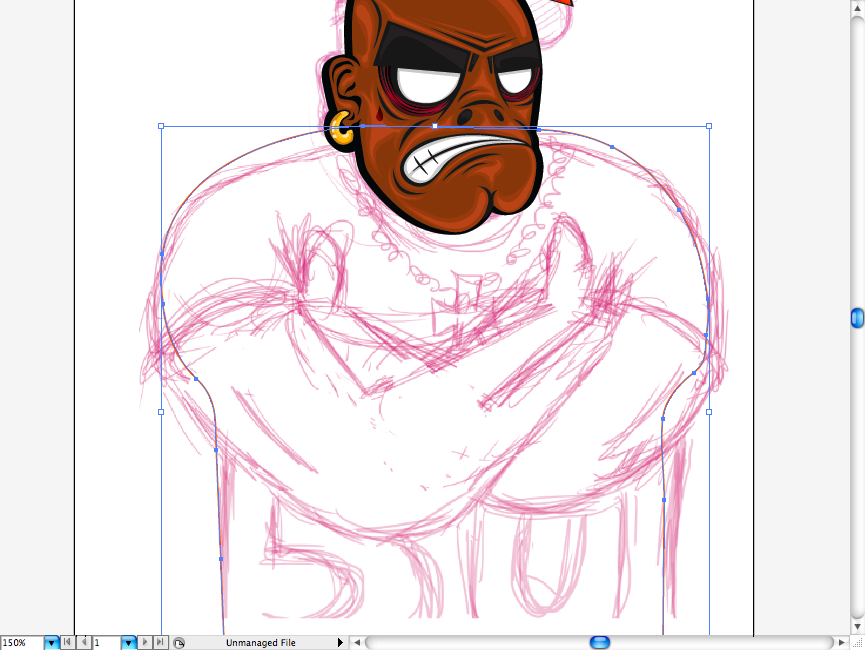
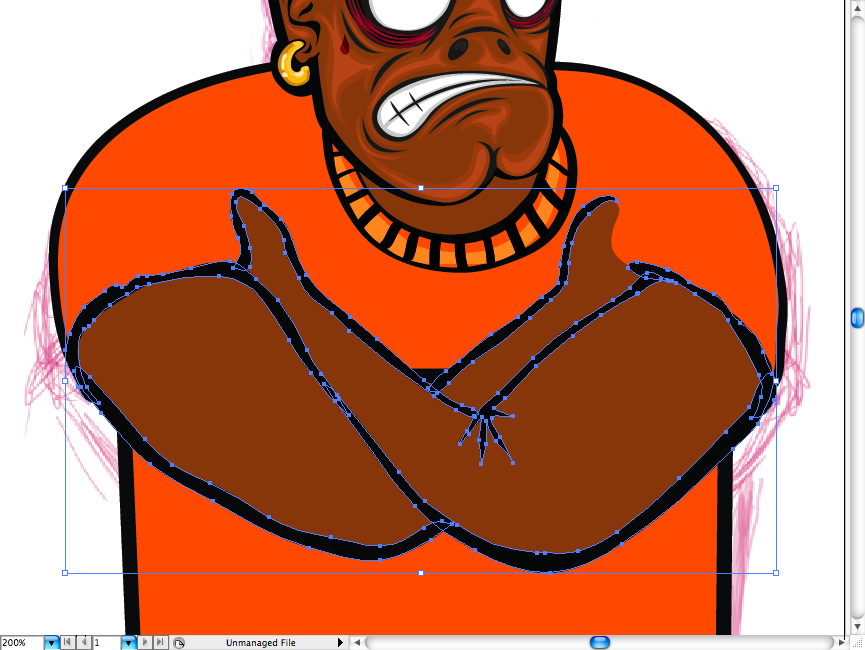
Now let’s trace the arms.
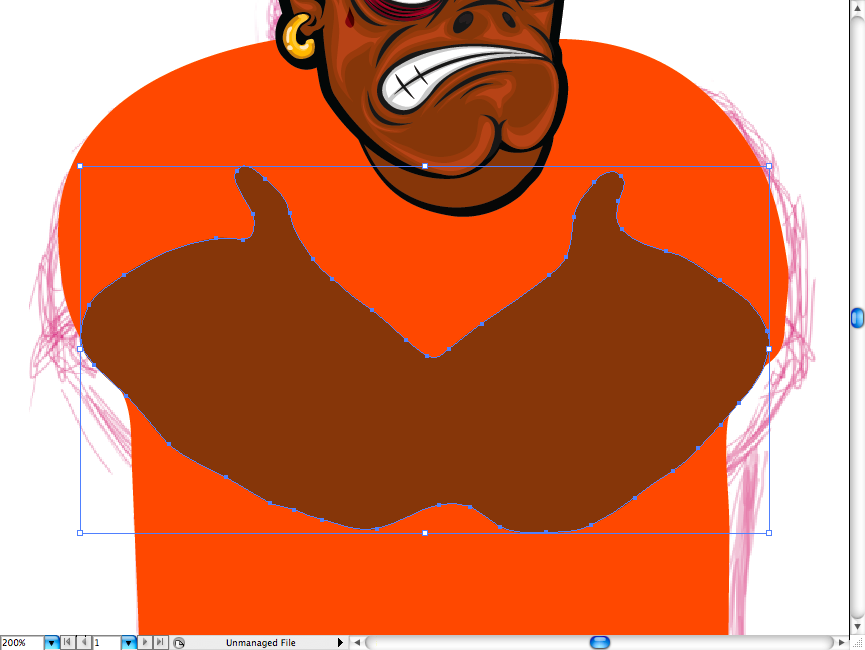
You can draw the collar using a brown fill and a black stroke. We’re going to enhance it later.

Turn the body trace into a orange fill, it’s nice color for a Tee, don’t you think? hehehe. Do the same thing to the arms.
I made the strokes around the body “manually” using the pencil tool (N), as I was afraid that it could interfer on some aspects later.
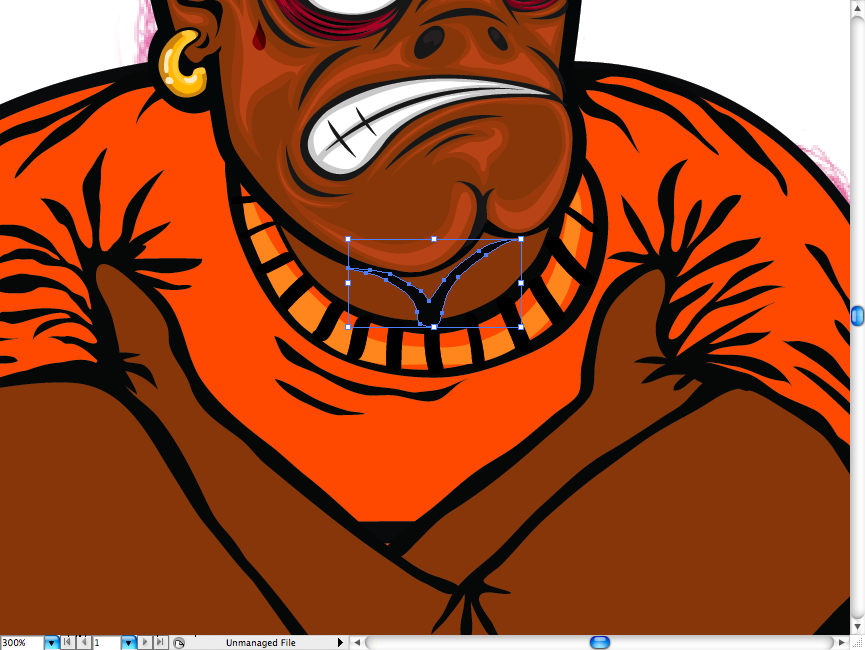
Let’s return to the collar, let’s add a extra line and draw some stripes, you can use the brush tool (B) for this task.
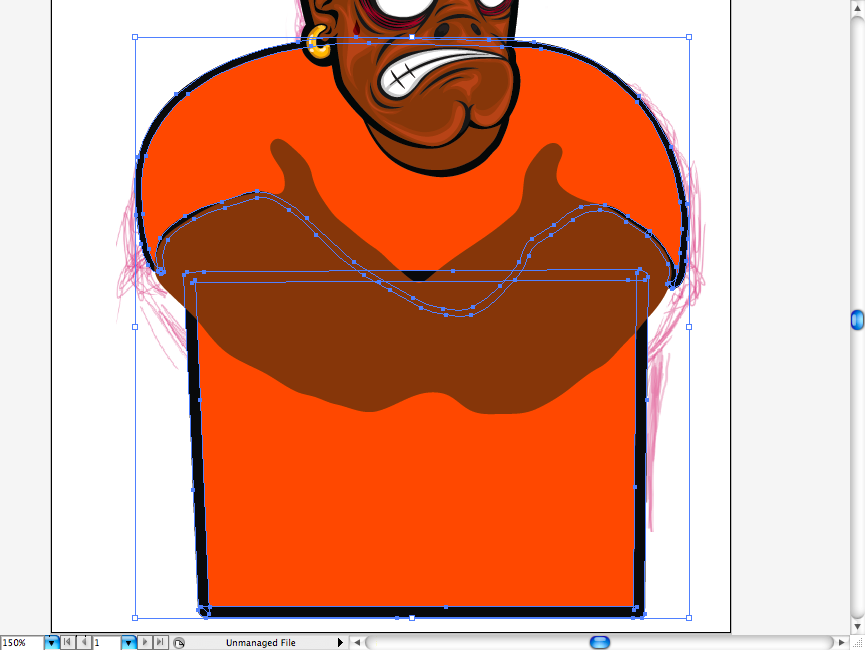
Add a lighter color for the tee.

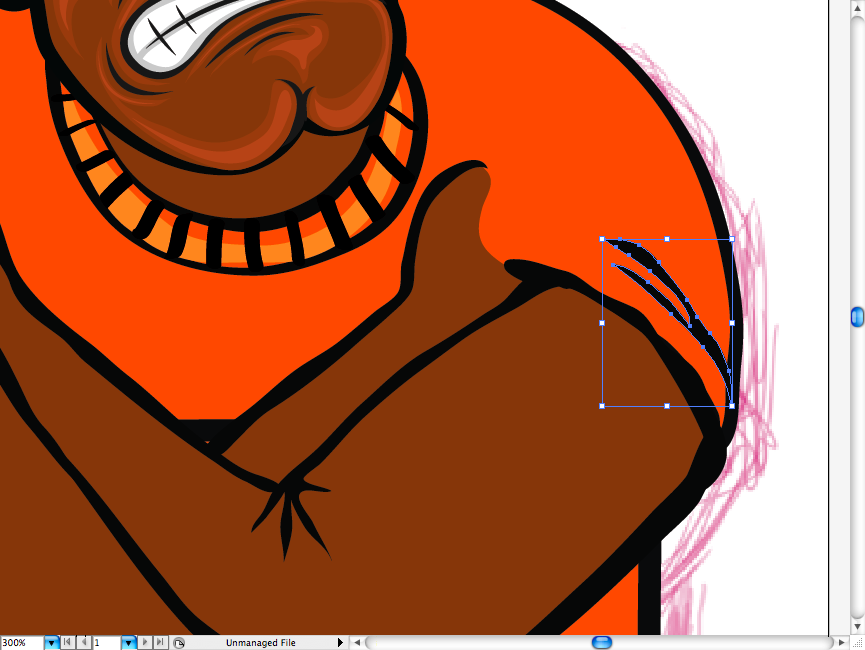
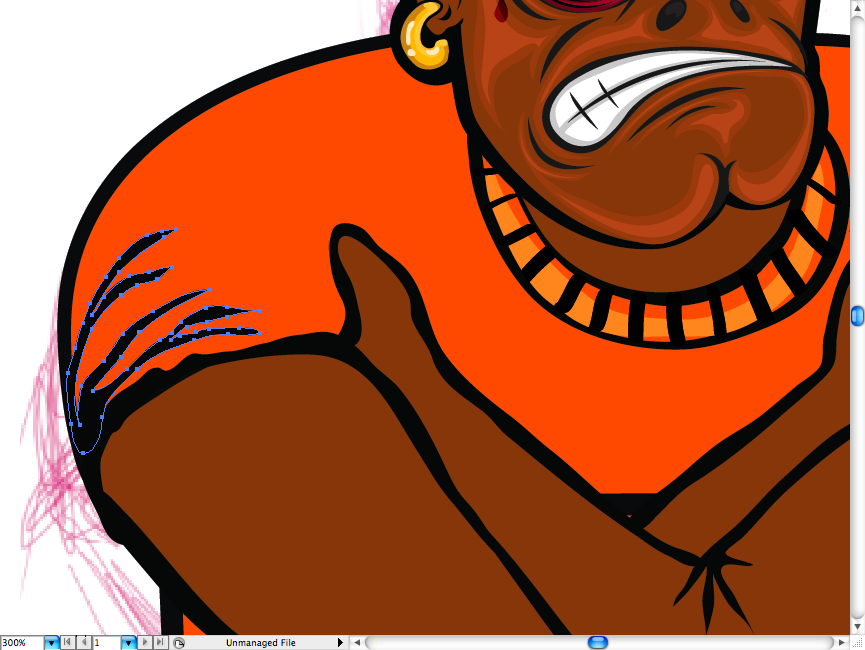
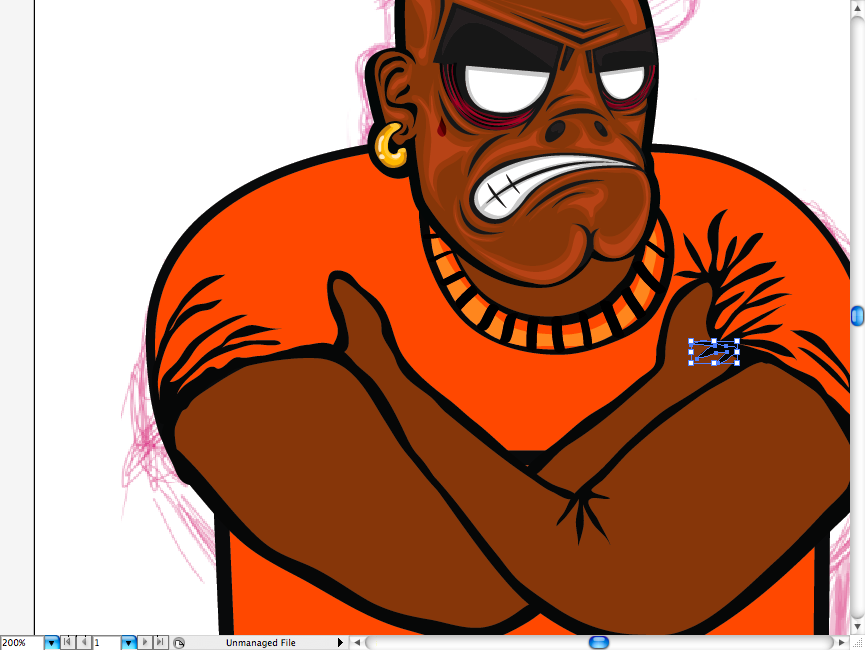
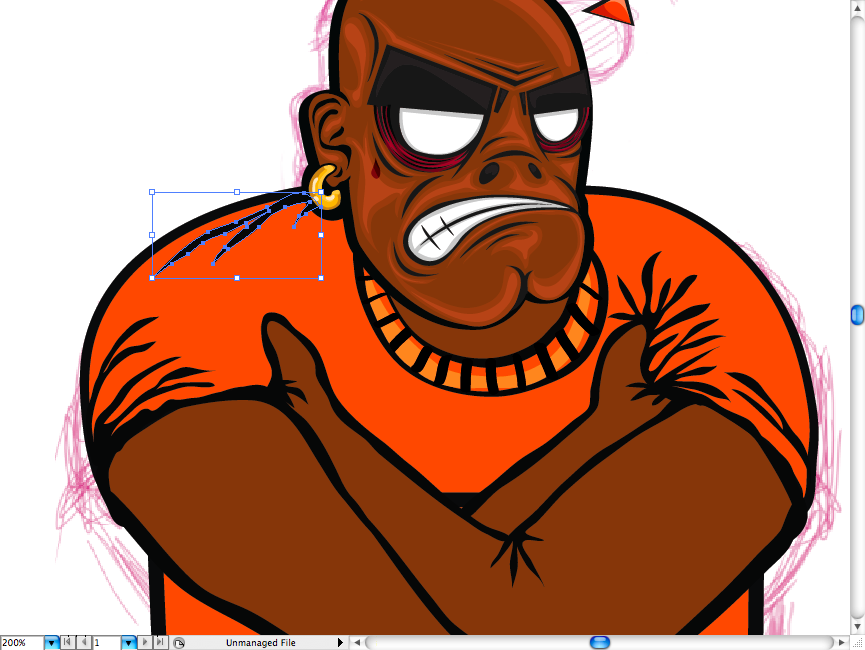
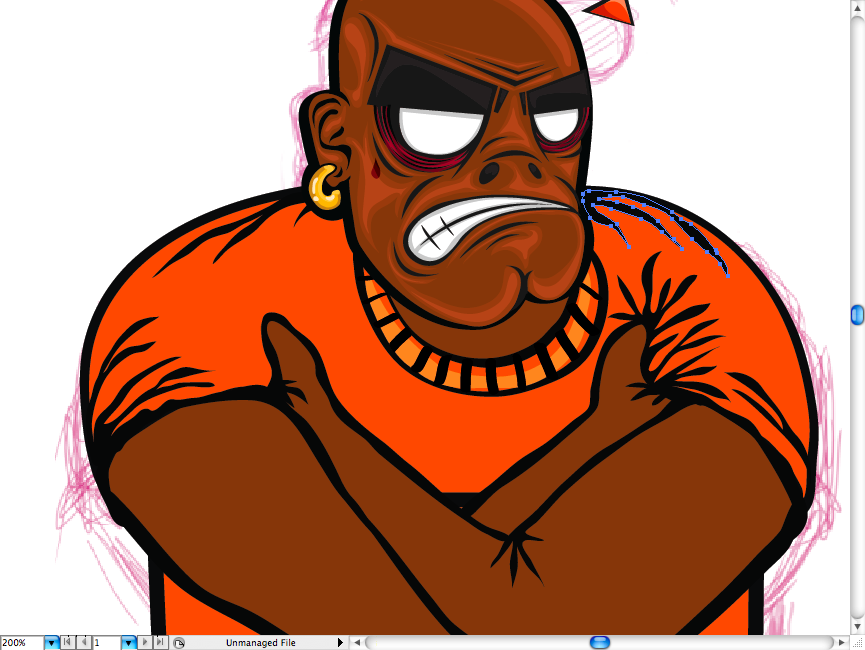
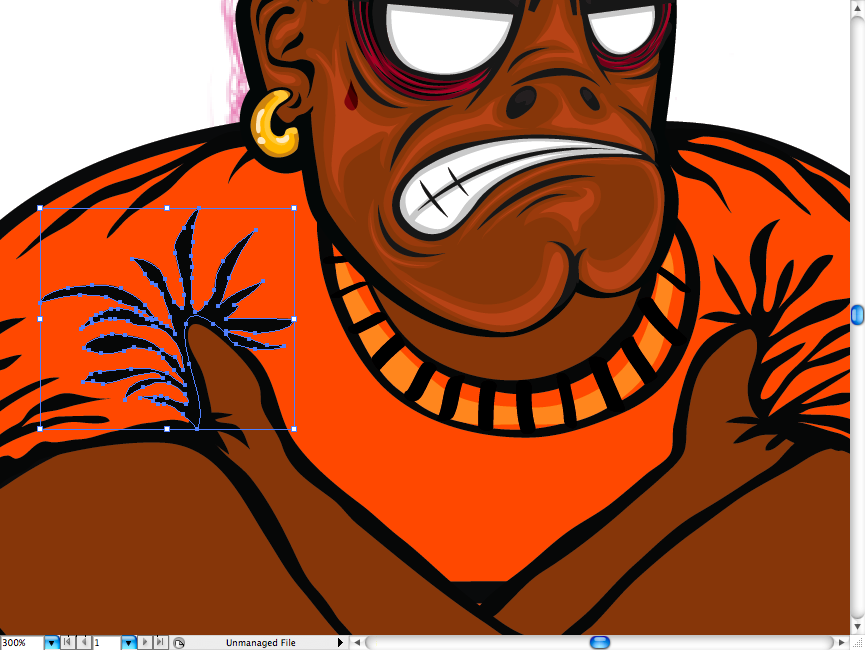
Add some more strokeon the arms using the pencil tool (N) or the brush tool (B) If you prefer.
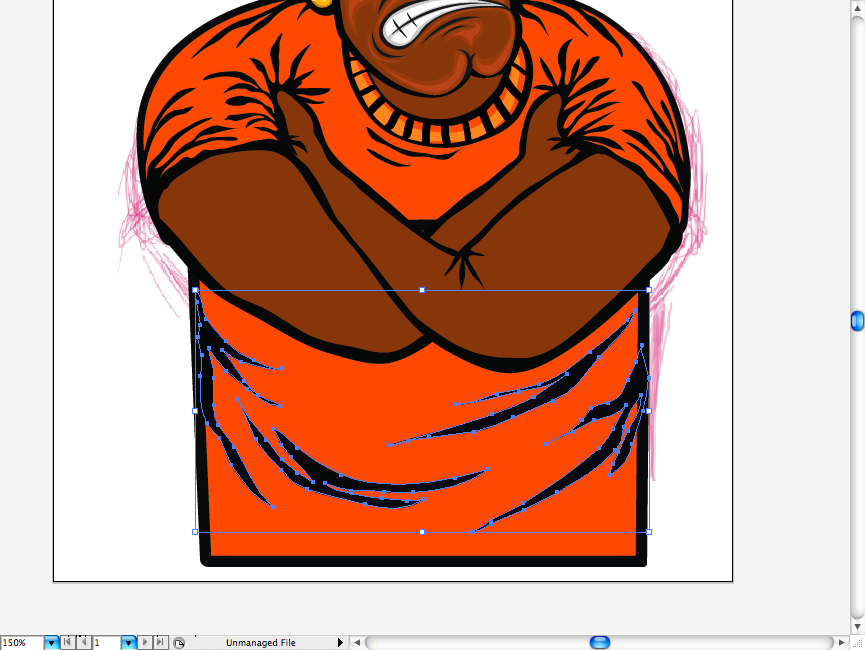
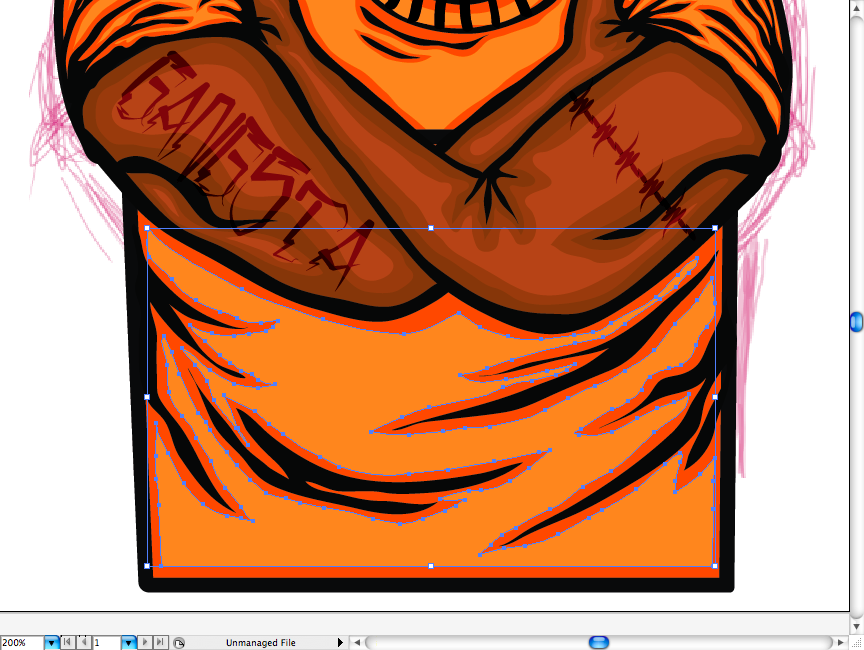
Following the same procedure, I did this wrincles all around the Tee, this make take you some time depending of the tool, I rather do them using the pencil tool (N).


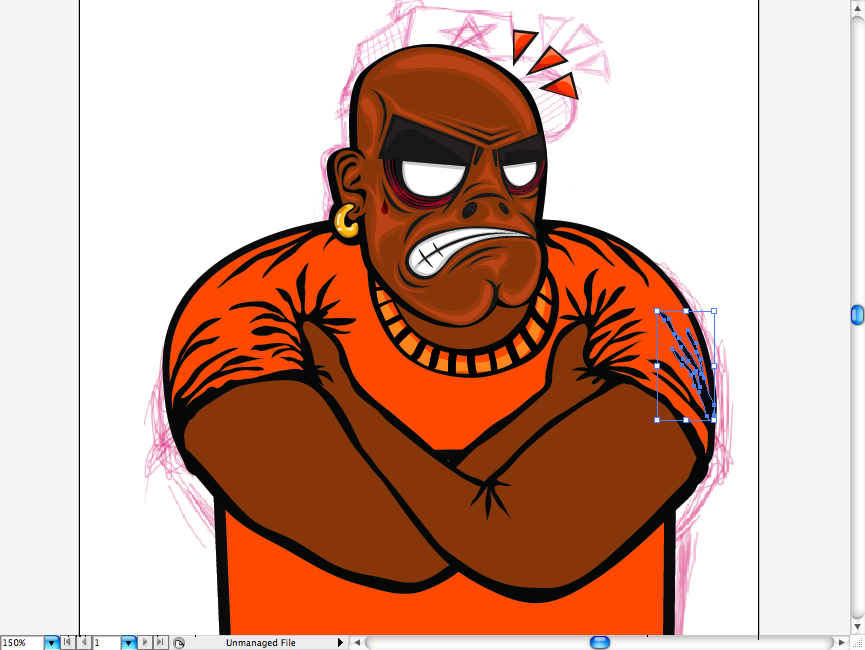
A badass without defined muscles it’s not a badass. So let’s pump this guy.

And here let’s apply that previous hard gradient technique.
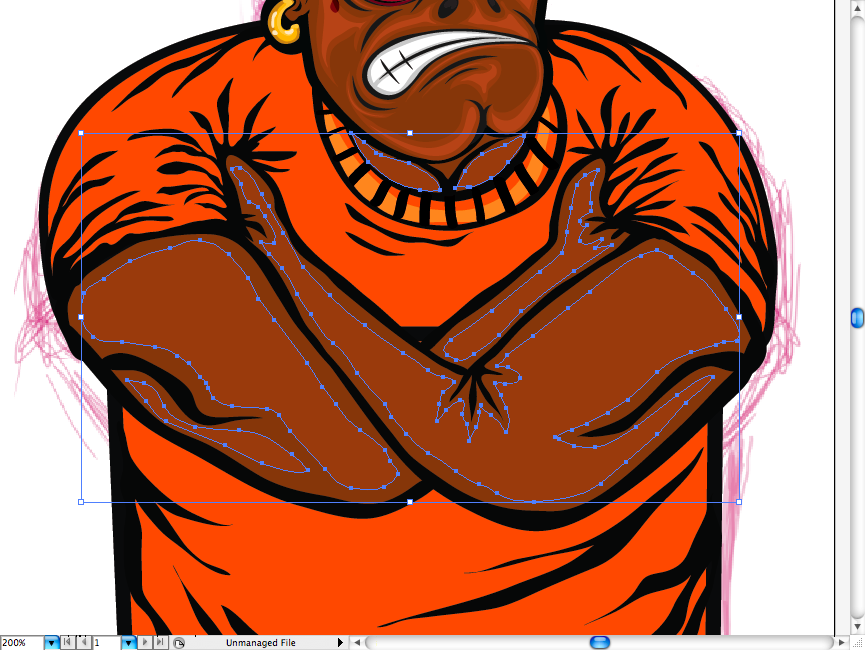
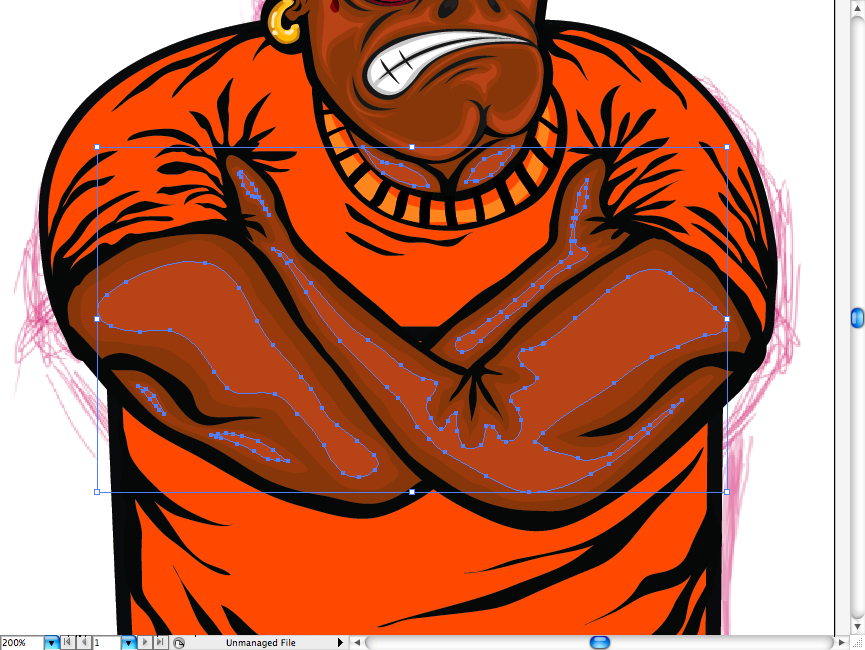
See how interesting the results we get.
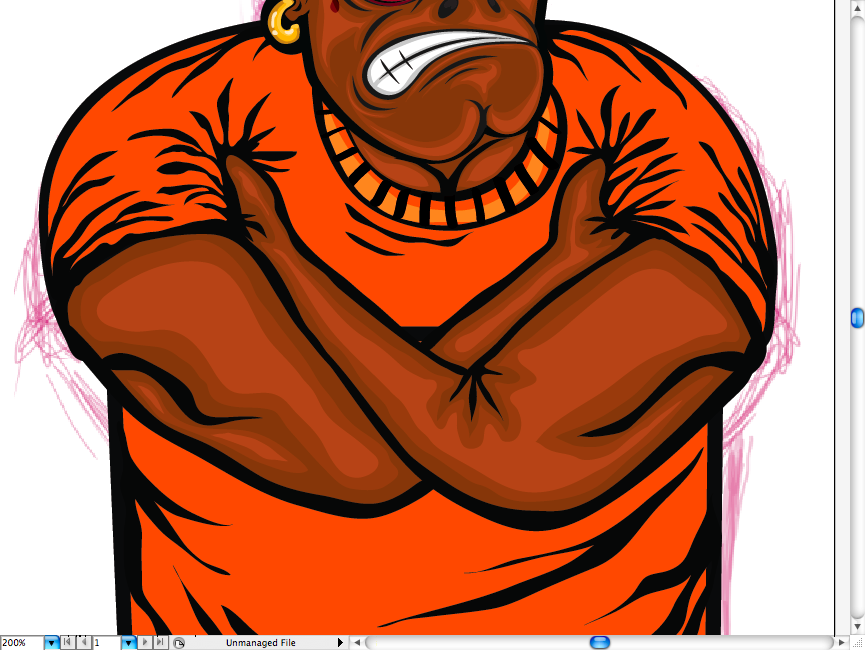
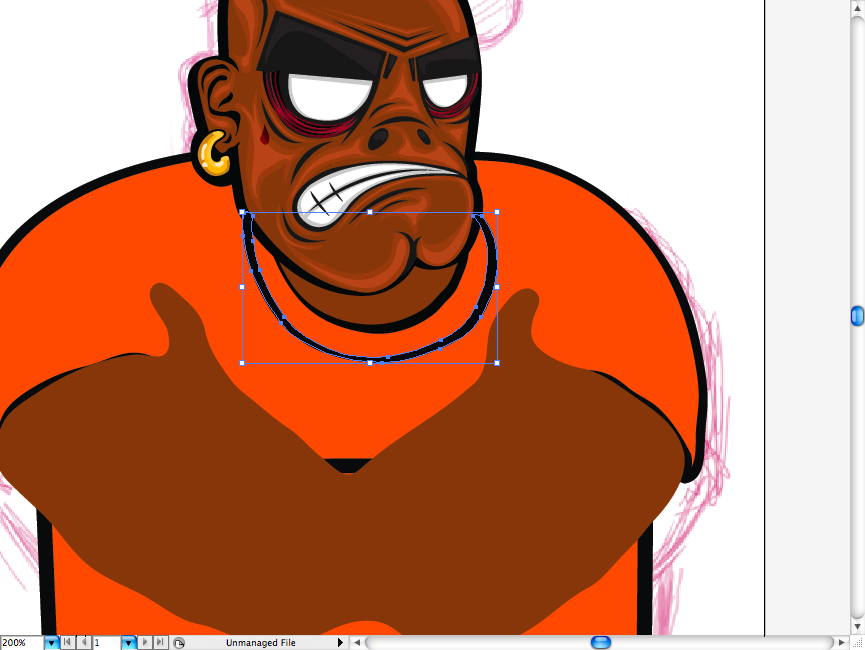
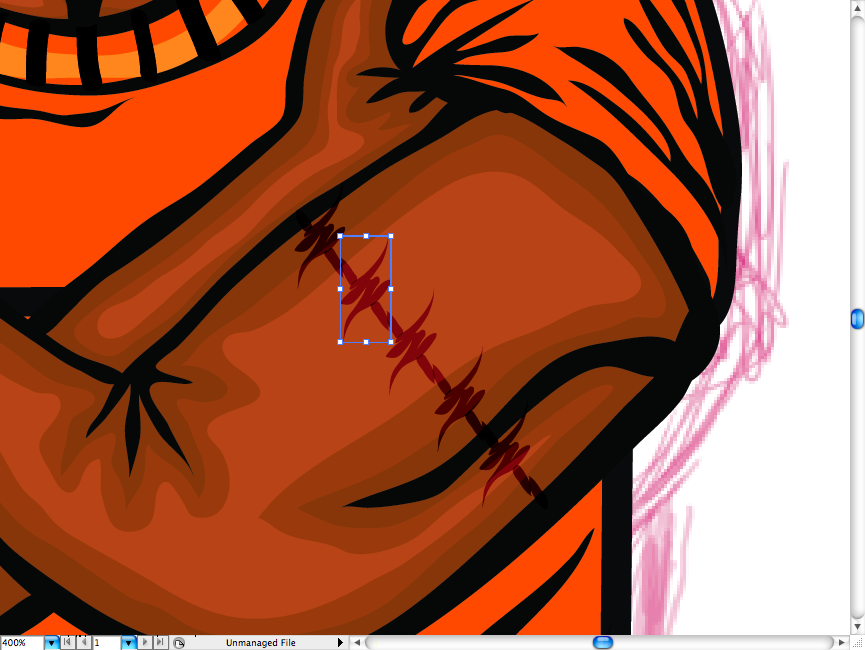
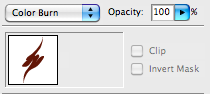
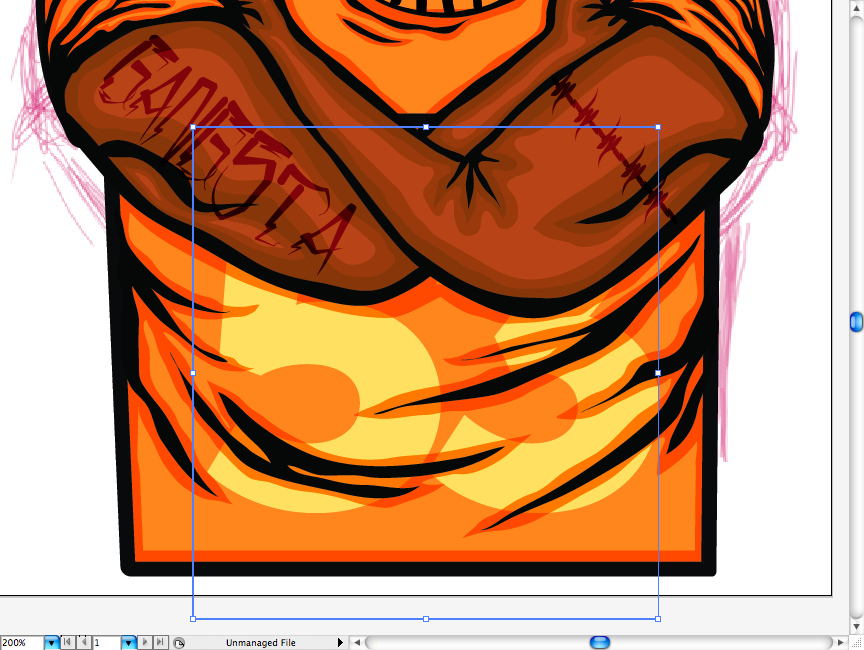
Now I added a couple of tattoos like this barbed wire, after I had the whole structure I used the color burn mode on the transparency panel so it would mix better with the skin.
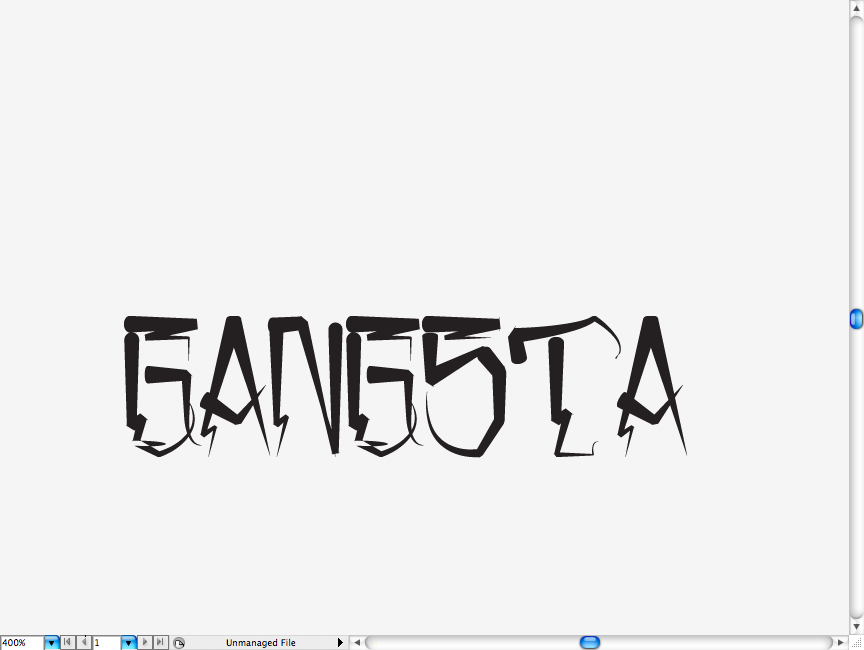
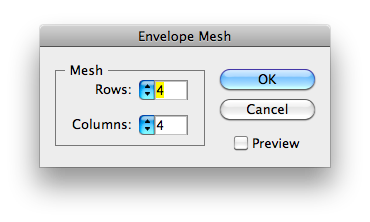
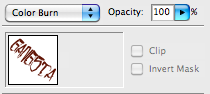
I hope you downloaded the San Locisco font I told on the beggining, anyway I wrote “Gangsta” and break it in outlines (command + shift + o / ctrl + shift + o) and make a envelope mesh with it (it’s a panel on the top next to transform and opacity, usually on the right side).
Set the panel like the one below. Then add the same blending mode to it (color burn).
So, I decided to apply the same hard gradient technique on the tee, creating this lighter orange color fill between the wrinkles, I suggest you to use the pencil tool (N) for the task.
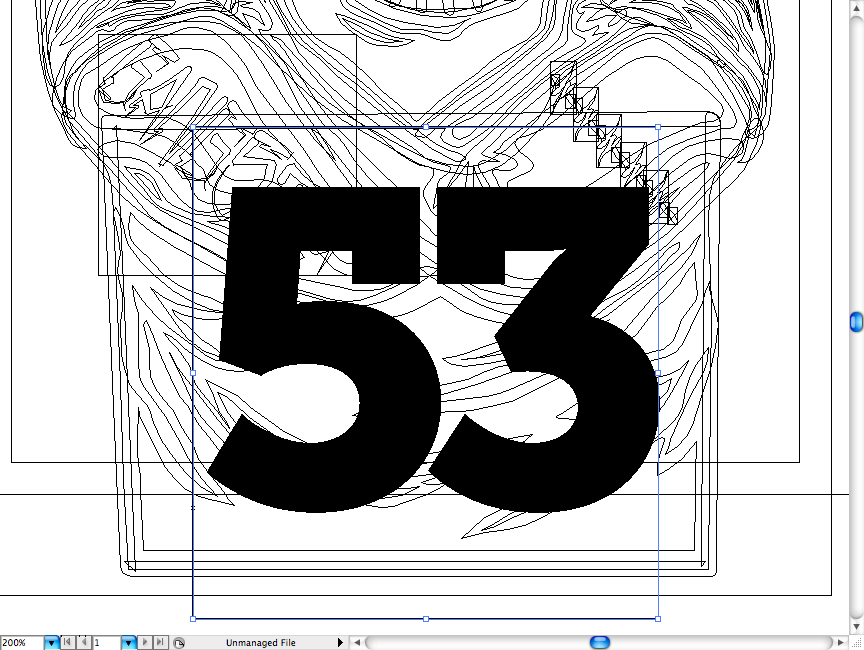
I really dig those old school hip hop tee’s with big numbers, so I applied this one using a Museo Serif then applied a overlay blending mode on it. You don’t have to use this specific font, just one with some big serif numbers.
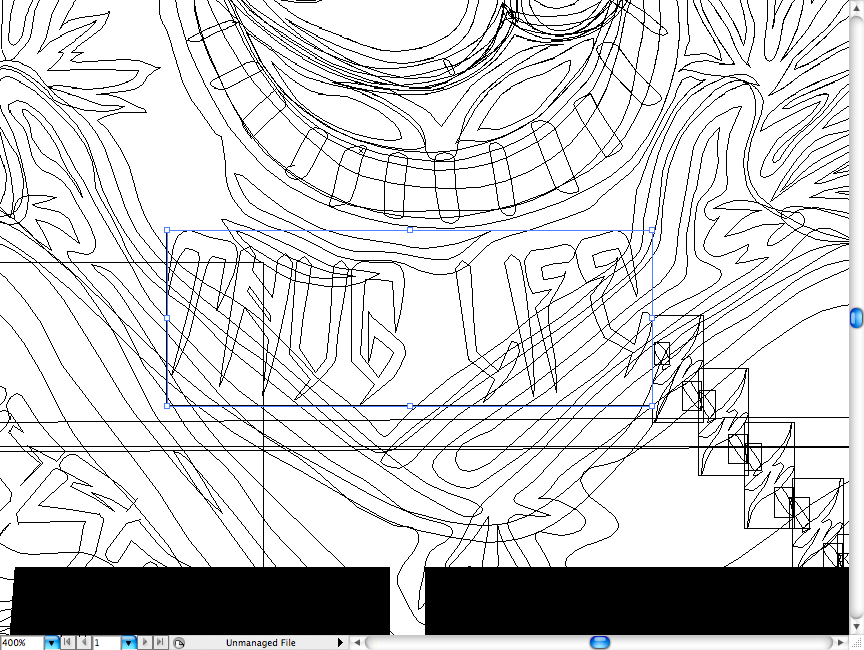
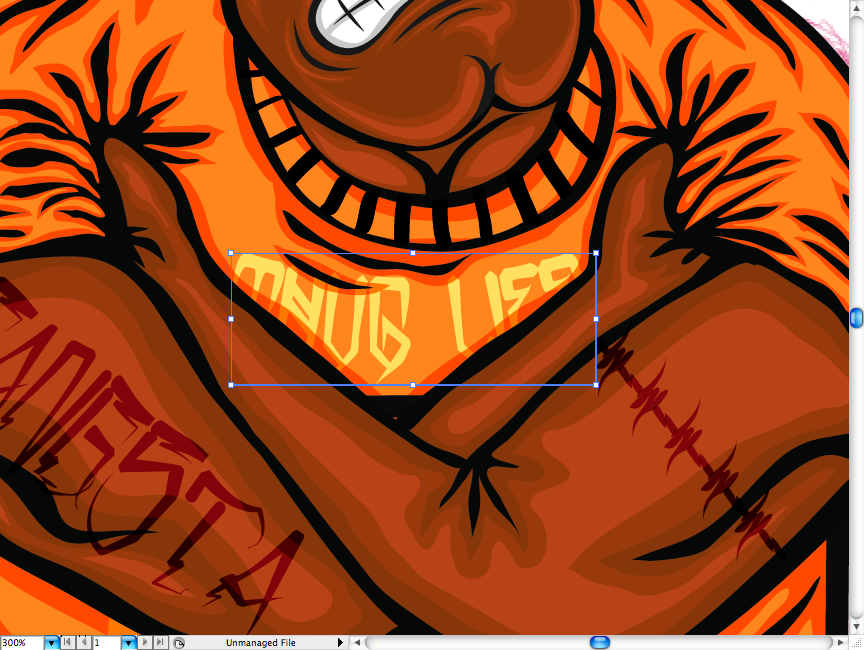
I repeat the same process with the quote “Thug Life” on the top of the Tee.
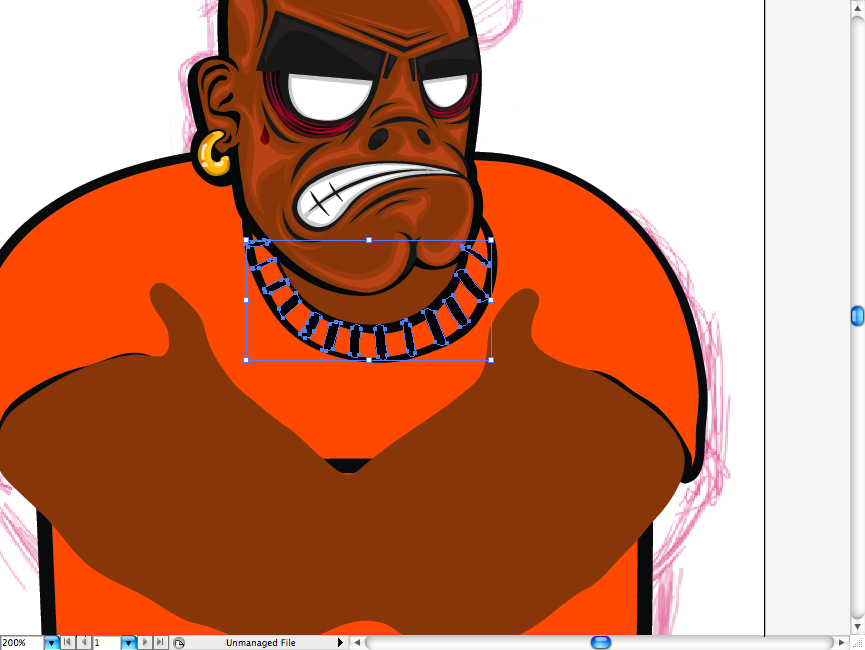
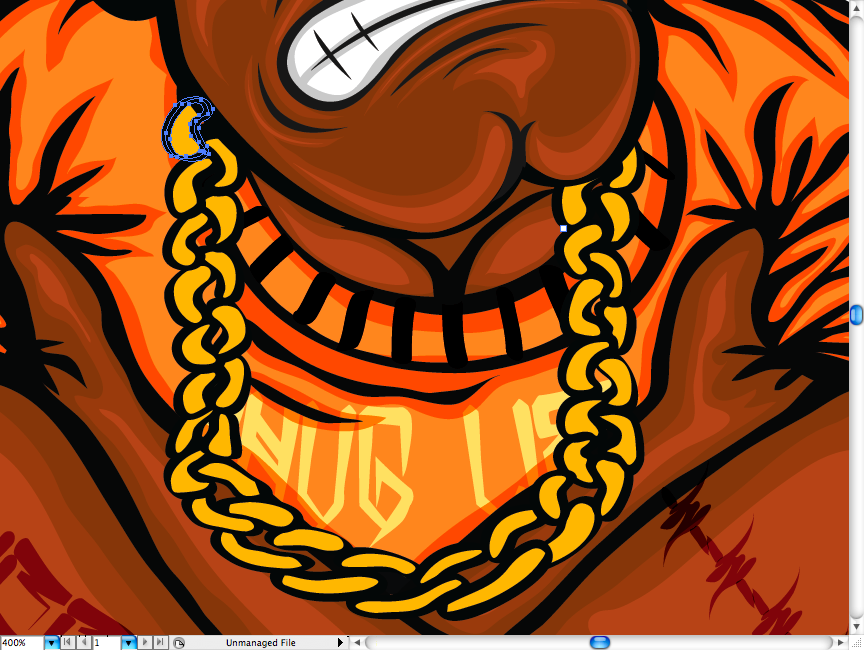
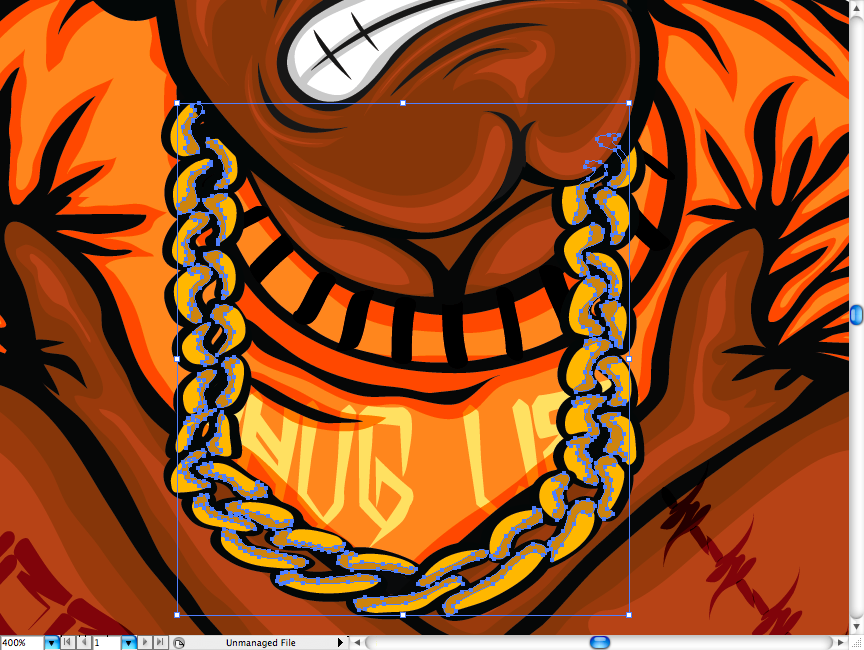
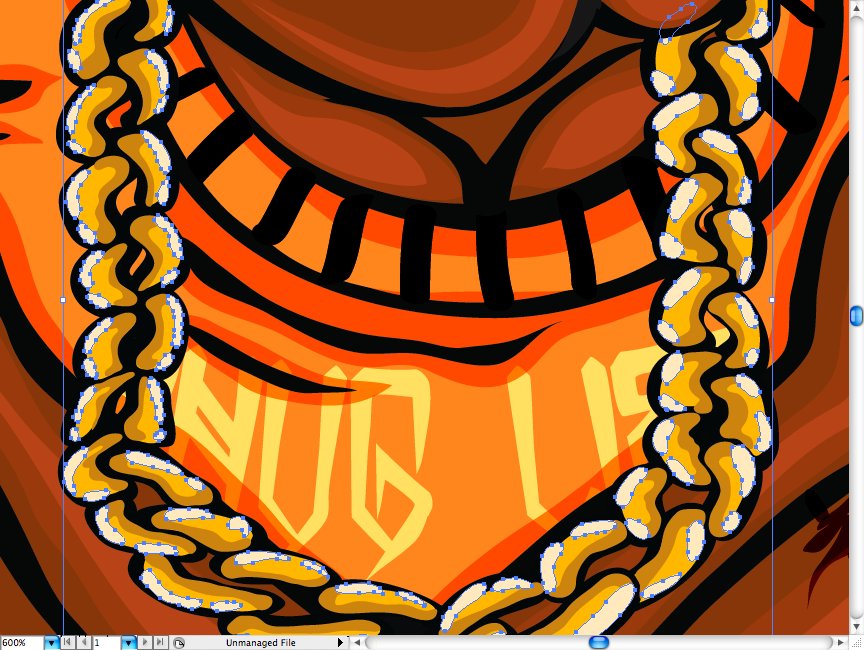
Our badass needed more gold, so I added this golden chain, like the classic rappers from the 80’s. This is quite easy If you already undertood the logic of this illustration, basically I did the chainrings using the pencil tool (N) than added the shades and lights one by one (yep, a bit boring, but can’t complain about the result).
So, here’re our badass, let’s just add a final touch to it.
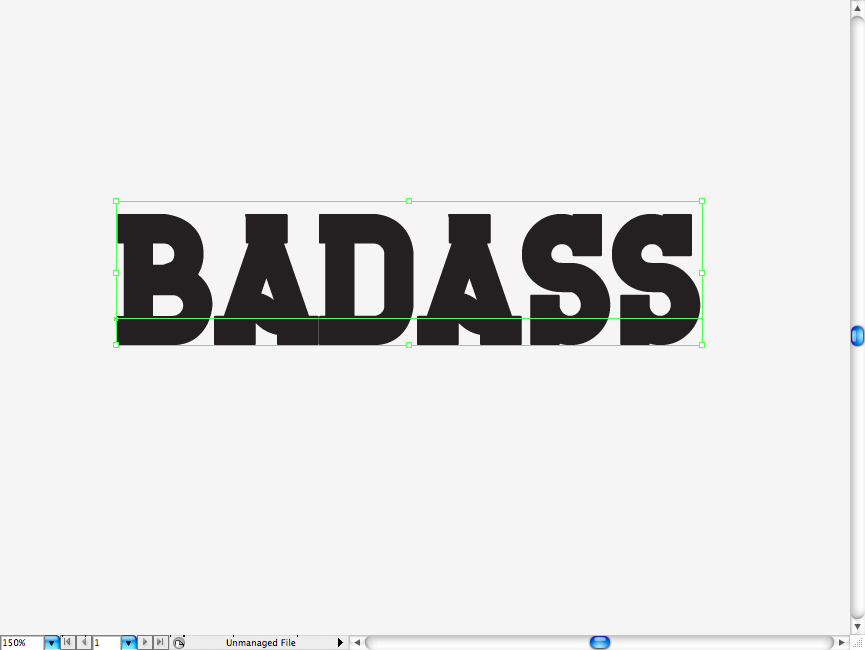
Letters
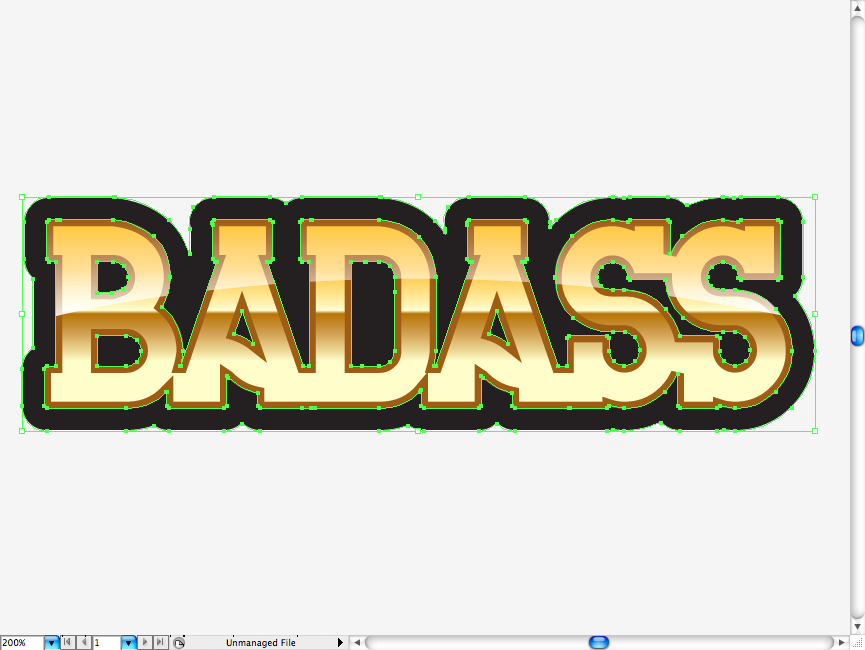
I used the Black Bureau font here, turned it into curves. Then give it a golden gradient, adjust on the gradient panel to get te same fill color. use dark yellow on the stroke.
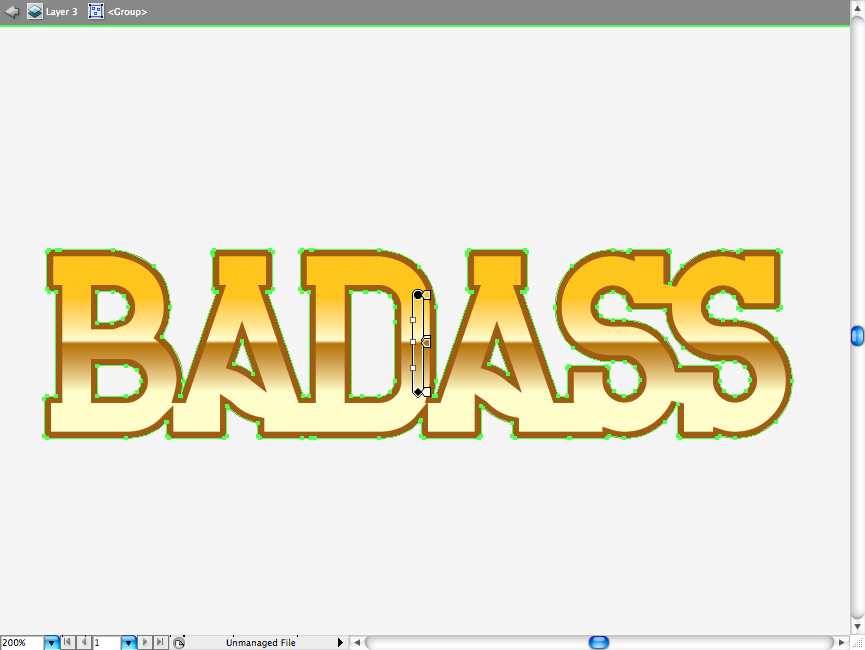
I also applied this light gradient using a clipping mask, I think you already know how to do it, just duplicate the font shape and put it on front, then select both gradient and the font shape and press command + 7 / ctrl + 7.
I also applied a offset path with a black fill.
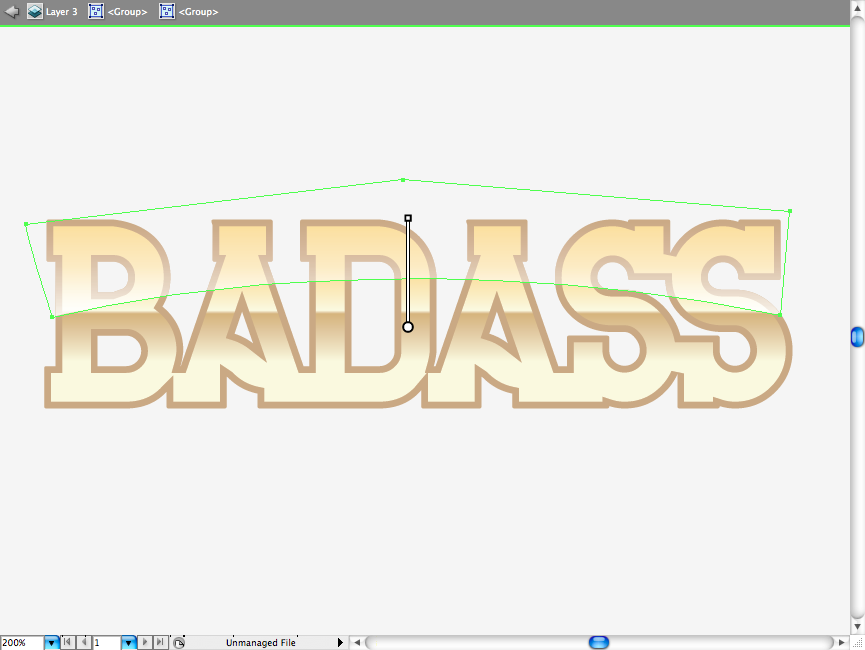
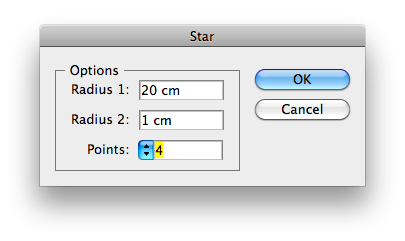
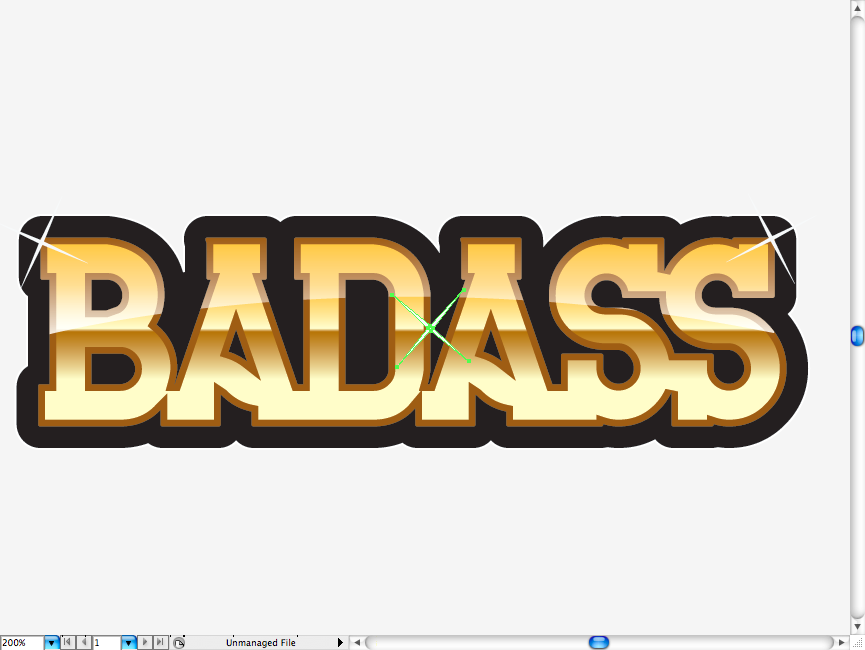
Using the star tool, click once on the canvas and configurate it to create a 4 point star with the settings bellow. Distribute them along the letters, like a classic “bling-bling”.
And here it is guys, hope you enjoyed besides all the difficulties, see you next time.
Conclusion